This post may contain affiliate links. Please read my disclosure policy.
Making Rock Candy Sheets Fast
Lately, I’ve been looking for recipes that make things faster. I’ve had a few other rock candy recipes before this and today I’m going to share with you another one: how to make rock candy sheets quickly and easily.
For those who have been following my posts, you’ve probably been with me when I had the hard rock candy experiment with the kids using sticks and strings. Those kitchen science activities took 7 days each to complete because we had to wait for the crystals to grow.
Or you probably skipped that part and just went on to do the faster, updated version where we got to grow the rock candy crystals within four hours. I don’t think I mentioned this, but we did it the morning and left the jars to rest. After the kids’ nap time, we already had our grown crystals as if they’d been growing for a week.
It’s a great way to teach the kids some chemistry while looking forward to munching on the sweet treats they made themselves. And you’ll probably get a bite, too, if they share, LOL!
Now that I remember, maybe I can try to hack my rock candy geodes recipe to make the crystals grow within hours, too. Remind me about it if I don’t post any update on it in the next few weeks. But today, let’s do the rock candy sheets first.
Making rock candy sheets doesn’t take days like rock candy crystals do. There’s not much chemistry stuff going on in the process that calls for yet another kitchen science session.
But it belongs to the rock candy family, and so far this is my favorite.
It’s so easy to make and is perfect for any occasion and is even good for a treat any day of the week. Great for giveaways, too!
While we usually pack peanut brittles and chewy caramels for my friends, my kids like to pack rock candies for theirs. Playing around with the flavor and color combination makes it fun and attractive, and they usually choose colors for their friends and pack it on their own.
We make large batches using different colors and flavors so we can choose and play around with the packing and wrapping (and eating) some more.
It just takes around 10 minutes to cook and almost an instant to harden, so you won’t have to test anybody’s patience here.
With just a few ingredients and a candy thermometer, you’re all set.
QUICK WARNING:
If you’re making this with the kids, don’t ever forget that depending on the age, adult supervision is required. Sugar may be sweet, but melted sugar is scalding hot. Don’t let them do the syrup on their own.
What I usually do is let them choose the flavor and color combination, but I do the cooking myself. The girls like to do the measuring and the preparation of the ingredients, so I let them.
But again, I melt the sugar myself. The fun part for them comes in when it’s time to crack the rock candy sheets. Thankfully, they don’t have to wait that long.

What is Rock Candy Made of?
Most rock candies are basically made of water, sugar, and corn syrup. If you want to add colors and flavors – which, I’m sure you’d like – you can add some flavoring extract and pair it with food coloring.
But, you see, I try to steer clear of corn syrup if I can help it. And in this recipe, rock candies can definitely be done without it. So for my version, I’ll be using cream of tartar instead of corn syrup.
What corn syrup does to candies is it makes the consistency of the candy mixture smooth by stopping the formation of crystals in the candy. In turn, it makes the candy either chewy (caramel) or hard (rock candy).
It’s widely used in a lot of desserts, but most of the time it can be substituted with cream of tartar. Other times, vinegar or lemon juice will also do just like what I did with my caramel apple recipe.
Some readers sent me messages saying honey and fruit juice can also make good hard candies, but I haven’t tried that yet. I think I’ll try it one of these days. If it works well for me, I’ll definitely let you know.
Flavor Variations
Here are some of the flavor and color combinations I’ve used in my rock candies before.
- Blue for raspberry or blueberry
- Light blue for gummy flavors
- Pink for strawberry
- Yellow for banana or lemon
- Green for peppermint or green apple
- Orange for cinnamon or buttered rum or maple syrup
- Red for cherry
- Purple for grape
Rock Candy Sheet Recipe
- Total Time: 15 minutes
- Yield: 1 sheet 1x
Ingredients
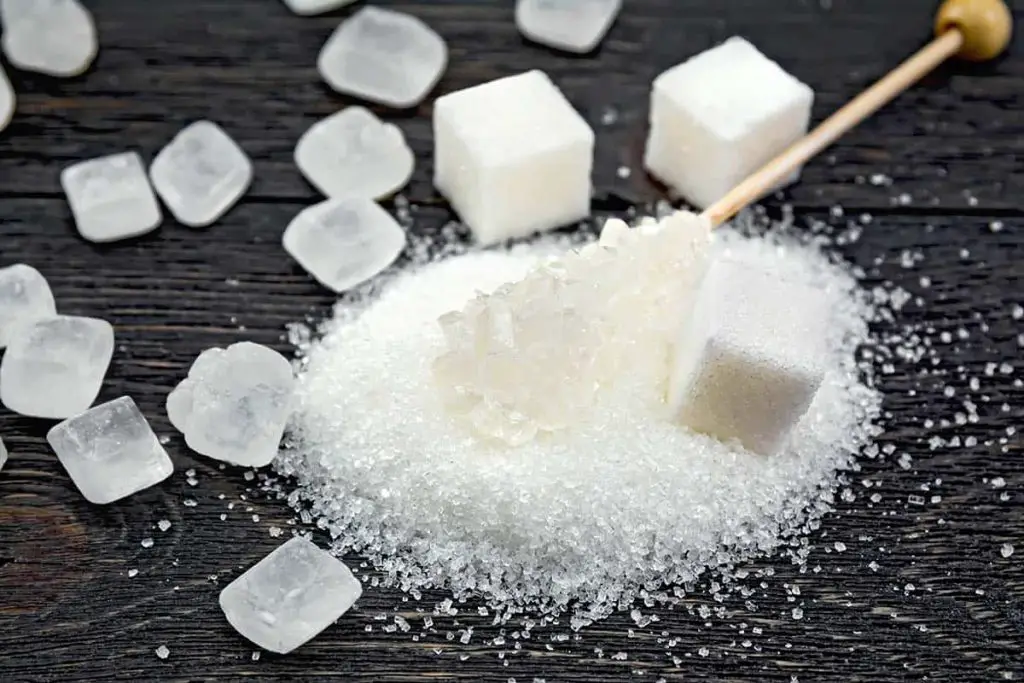
- 2 cups granulated sugar
- 2 cups of water
- ½ teaspoon cream of tartar
- Optional: food coloring
- Optional: flavoring extract
Other kitchen tools you’ll need:
Instructions
- Line your baking sheet with tin foil and grease with cooking spray. Set aside. QUICK TIP: For thin rock candy, use a large baking sheet. For thinner rock candy, use a smaller baking sheet.
- Prepare the flavor and color combinations for later. In a small bowl, combine 2 teaspoons of flavoring extract + 2 drops of food coloring.
- In a medium saucepan, combine the sugar, water, and cream of tartar and boil over medium heat. Stir until all solid particles are dissolved. NOTE: That is the only time you will stir the mixture. After this step, do not stir again.
- Place the candy thermometer (here’s the one I recommend), making sure it doesn’t touch the bottom of the pan. Wait until the temperature reaches 300 degrees Fahrenheit (or 149 degrees Celcius). This is known as the hard crack stage of the candy. If the mixture does not reach the desired temperature, it will not harden the way it’s supposed to.
- Remove the pan from the heat and let it sit for about a minute before adding the flavoring and coloring.
- Pour the sugar mixture onto the baking sheet and swirl around to even out the mixture.
- Let it rest at room temperature for 45 minutes to 1 hour.
- Remove the rock candy from the baking sheet and turn it upside down so the tinfoil is facing up and the candy is at the bottom.
- Crack the candy into smaller pieces.
- To prevent the candies from sticking together, shake them in powdered sugar before storing them in an airtight container.


- Prep Time: 5 minutes
- Cook Time: 10 minutes
- Category: Candy