This post may contain affiliate links. Please read my disclosure policy.
If you’d ask me what two things I’d never get tired of eating, chocolate and caramel would be the answer. If you’ve been following this blog, by now you’ve already seen many chocolate and caramel recipes that my family and friends love.
And if you’ve gone through most of my posts, you would’ve noticed that the chocolate and caramel recipes were all done separately. It was something done unconsciously and it was just recently that I noticed it myself out of boredom.
Since I started this blog, my caramel recipes were done using different ingredients and techniques. There’s this recipe for caramel apples, brown sugar caramel, caramel without butter or cream, and stovetop caramel popcorn.
You might have already seen my posts about chocolate, too. I’ve had various recipes such as making milk chocolate from dark chocolate, melting chocolate with coconut oil, making dark chocolate sweeter, making chocolate bars using cocoa powder, and many more.
Those recipes would quite show how much of a chocolate and caramel lover I am. I guess I’ve passed them on to the kids over time because we seem to enjoy the same things. Seeing that makes me happy because I always enjoy doing kitchen stuff with them.
As mentioned, despite the many chocolate and caramel recipes we’ve done on this blog, I didn’t have one that made use of both in one recipe. But since I love both so much, I figured maybe I can combine some of my classic recipes and come up with something interesting.
My recipes mostly use ingredients that are easy to find in the nearest grocery stores or are something that you might already have in your own kitchen. I try to make my recipes as easy as can be because one of my goals is to hand them down to the kids like what my grandma did to me.
Well, I picked some of them up on my own because I practically spent vacations with my grandma in the kitchen. So I figured that if I can simplify some classics, it won’t be so hard to pass them on to the kids later on.
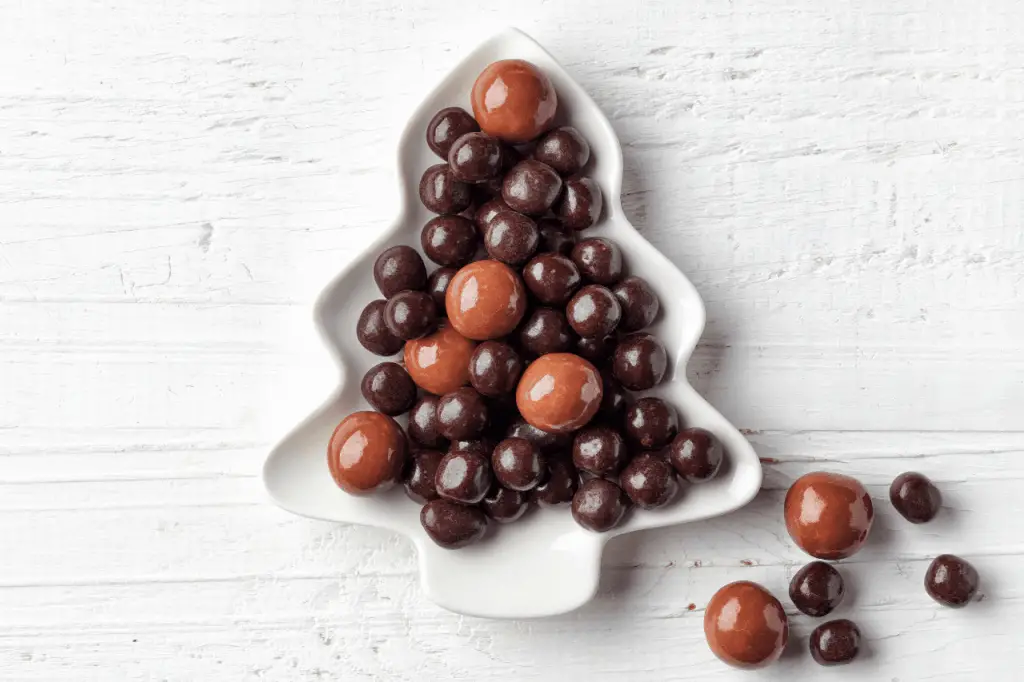
In this post, I’ll show you how to make chocolate-covered caramel balls using a quick and easy recipe. We’ll be using the same techniques and ingredients we’ve used in the past recipes so you won’t have to worry about doing something complicated.
This is something you can do in large batches for family and friends, or just for the kids to enjoy. Whatever the case, I’m sure you’ll love it if you’re a chocolate and caramel lover like me.
Some Reminders Before You Start
Caramel is easy to make yet so easy to burn. So as I’ve been doing in the past, I always see to it to leave a few reminders so you don’t end up throwing a bad batch out.
- Use a reliable candy thermometer. One of the things that can mess up your caramel is the wrong temperature. It’s not easy to estimate because it’s hard to tell the heat just by looking at it.
If you’re curious about what I’m using, I have CDN DCT450. I posted a review on this thermometer in case you want to know my thoughts about it. - Use Chocolate with Good Quality. Regardless of what chocolate you want to use – white, milk, or dark – it’s always good to use something of high quality. Ideally, couverture chocolate is used for melting because it has a higher ratio of cocoa butter to cocoa and it melts more smoothly than regular chocolate.
However, in my kitchen, I use ingredients that are more affordable and easy to find. So in the absence of couverture chocolate, I use high-quality ones such as Ghirardelli, Nestle, or Hershey’s.
Whether you melt these chocolates in the microwave or double broiler, you’ll get good results if you use the correct process. - Make use of a tall heavy-bottomed pot. This type of pot works great in producing heat evenly. It helps keep the sugar from burning, so it minimizes the chances of ruining a batch.
Also, another reason you need a tall pot is that caramel tends to rise as it bubbles rapidly. Thus, you need something tall to keep all the mixture inside the pot and prevent it from going to waste which also leads us to #4. - Don’t be afraid of the bubbles. When you add the milk or cream to the melted sugar, it will bubble like crazy. If it does, it means you’re doing the right thing. Don’t get intimidated and just keep going.
- The nasty lumps are normal. You melt the sugar in the beginning but it may turn back to lumps when you add the milk or cream. It’s a natural reaction so don’t think you’ve messed the mixture up. Continue what you have to do and the lumps will dissolve by itself.
- Don’t multitask. The mixture needs full attention. A few seconds away from it can lead to curdling it really bad so you have to look after it carefully.
These seem really simple but are easy to forget, so I see to it to include a quick reminder every time I post about caramels. Now that we’ve gone through these reminders one by one, we can now proceed to do the good stuff.
Note that I’ll be using my chewy caramel recipe so this will be familiar to those who have done it in the past or have gone through that post. We’ll then incorporate some procedures regarding the chocolate to complete the recipe. So, let’s start!
Notes:
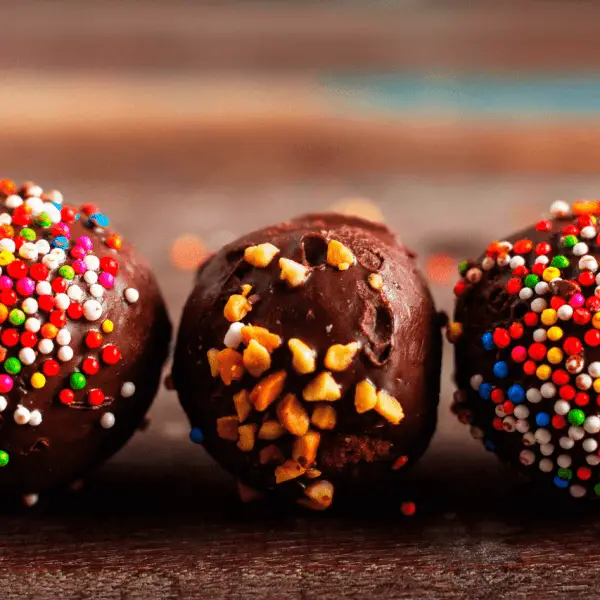
If you want softer caramels, you may add 2 to 4 tablespoons of heavy cream.To add some fun to your chocolate caramel balls, you may try the following:
- Sprinkle some flaked sea salt on top
- Roll the balls into chopped nuts of your choice
- For the kids, roll the balls into colored sprinkles
- Add a drop of peppermint onto a small bowl of granulated sugar and sprinkle on top of the chocolate caramel balls.
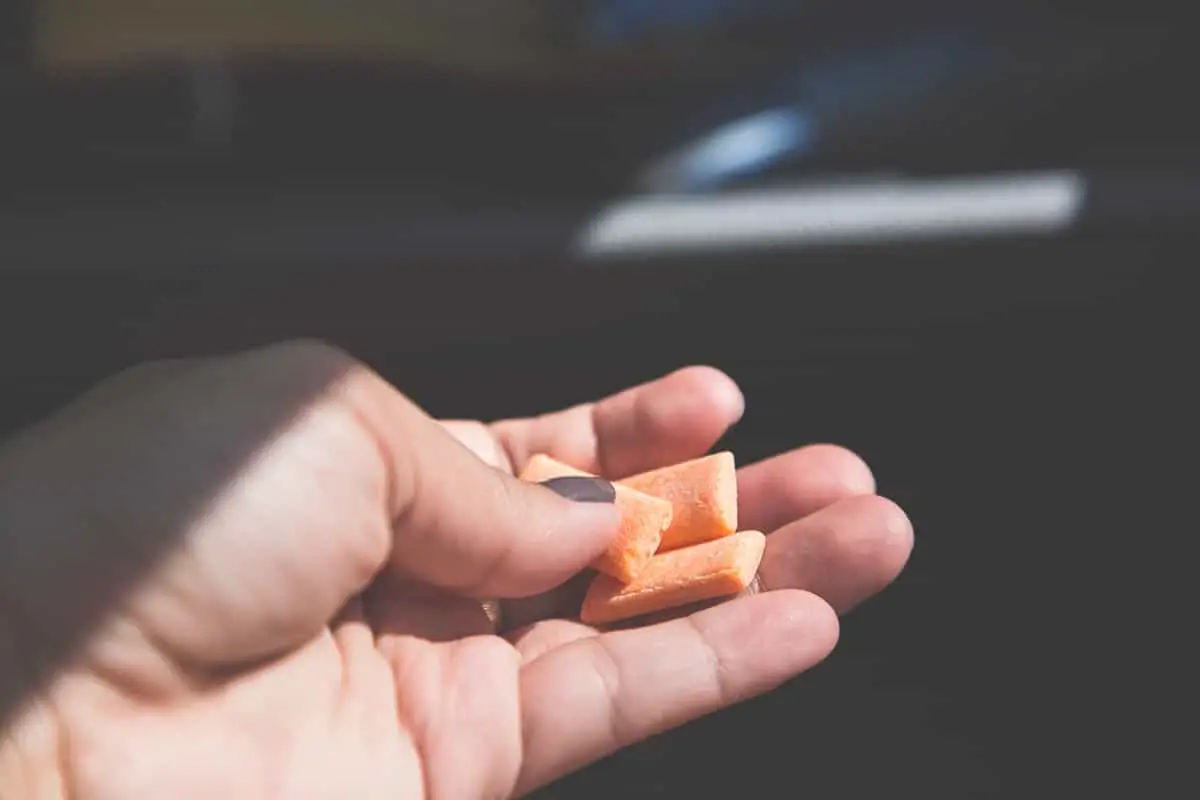
To save time, you may forego rolling the caramels into balls and just go with the square chews.For other variations, you may use milk or white chocolate instead of dark.
Print
Chocolate Covered Caramel Balls Recipe
- Total Time: 8 Hours 40 Minutes Max
- Yield: 40–50 Chocolate-Covered Caramel Balls 1x
Description
Classic mouth-watering, chewy caramel dipped in creamy chocolate.
Ingredients
CARAMELS
- 1 ½ cups heavy cream
- 2 cups brown sugar
- 2 teaspoons kosher salt
- 2 teaspoons vanilla extract
CHOCOLATE COATING
- 1 pound high-quality dark chocolate
- 2 tablespoons butter
KITCHEN TOOLS YOU WILL NEED:
- Parchment paper
- Cooking spray
- Heavy-bottomed pan
- Candy thermometer
- Microwavable bowl
- Forks
- 3x3-inch squares wax paper
Instructions
- Prepare all the caramel ingredients beforehand. Place each of them in small bowls and keep them within easy reach.
- Line the baking sheet with parchment paper and grease with cooking spray. It’s important that you prepare this before making the caramel because you’ll need it the very moment the caramel is done.
- Mix the cream, brown sugar, and salt in a tall heavy-bottomed pan.
- Bring the mixture to a boil over medium heat, stirring constantly.
- Put in the candy thermometer and continue stirring until the temperature reaches 250 degrees Fahrenheit.
- Remove the pan from the heat and add in the vanilla extract. Stir until well-combined.
- Pour the mixture immediately onto the lined baking sheet and spread evenly.
- Let stand at room temperature for at least 8 hours.
- Prepare another lined baking sheet and grease the parchment paper with cooking spray.
- Grease the knife with cooking spray and cut the caramels into ½ inch squares.
- Grease your hand with cooking spray and roll the caramels into balls.
- Chop the chocolate into small pieces.
- Set aside about ⅓ cup of the chocolate and place the remaining portion onto a microwavable bowl.
- Add the butter to the chocolate in the microwavable bowl. Heat in the microwave for about 30 seconds and stir. Repeat until all the chocolate has melted.
- Once all the chocolate has melted, stir in the remaining ⅓ cup of chopped chocolates. Stir until it becomes smooth and shiny.
- Using two forks, dip each caramel into the melted chocolate and place it onto the parchment paper.
- Allow the chocolate to set before wrapping each piece using the wax paper.
- Store in an airtight container and refrigerate. Consume within two weeks.


Notes
Resting Time: 8 Hours
- Prep Time: 5 Minutes
- Cook Time: 20-35 Minutes
- Category: Treats