This post may contain affiliate links. Please read my disclosure policy.
How to Make Hard Candy Out of Maple Syrup
I traveled to New England several years ago for a baking conference. I met a lot of people and gained some friends.
The timing was so right for a maple festival, where people make maple sugar and candies. It’s not something that we have where I’m from so it’s something I find interesting.
One of the bakers I met invited me to a small event where they put tin buckets on the trunk of maple trees to gather the sap which they later use for the maple sugar and eventually make some into candies.
I found out later that this activity is somewhat being done across the region for the maple festival. What a sweet way to gather people – literally!
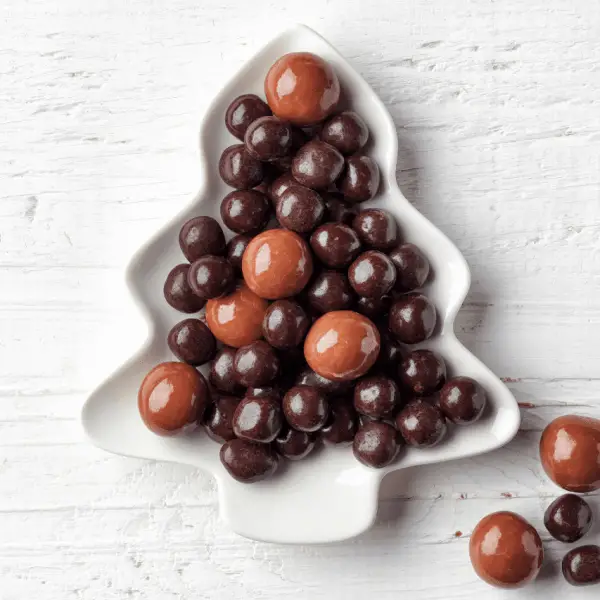
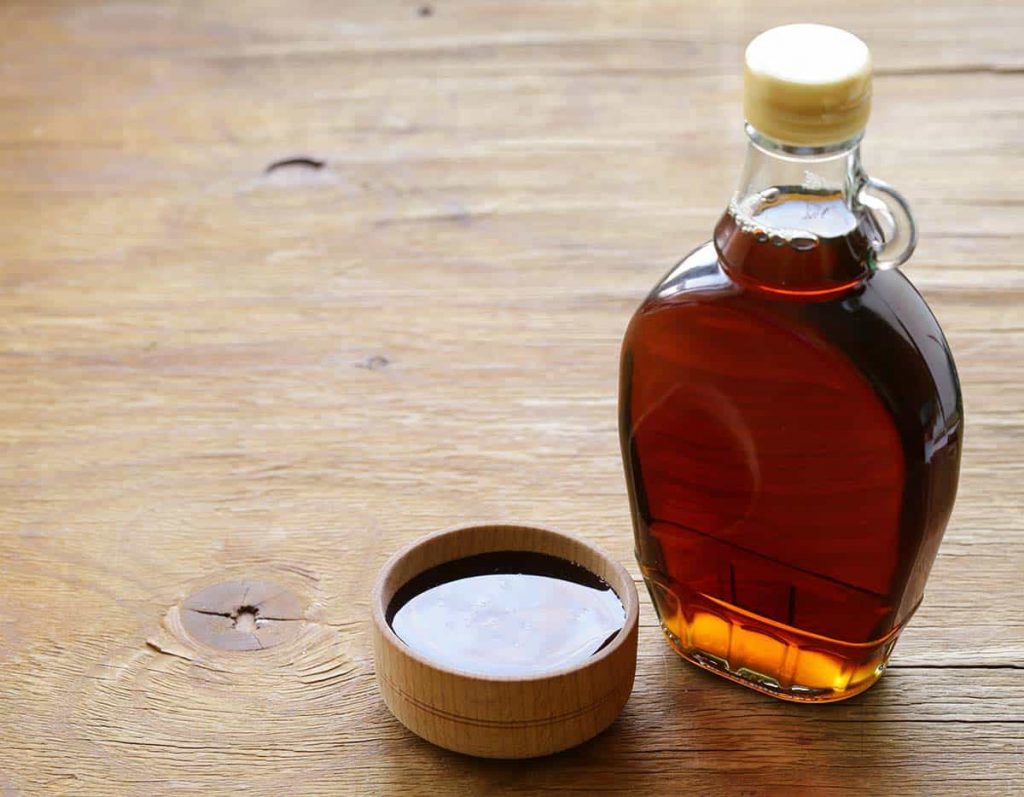
I got to taste several different kinds of maple candy treats there. There were some that are creamy, some with nuts, others were made into hard candy. And I got to bring home loads of ‘em and some pure maple syrup, too!
Every now and then, my friends and I would exchange treats from miles apart. I send them something from my hometown, they send me treats from theirs. And guess what they send me? Yes, maple candies and syrup!!!
The maple candies are always a hit with the kids. I mostly like the creamy and nutty ones – because I love peanut brittle, remember? If you haven’t read my two peanut brittle recipes, please check them out as well. I have a microwave peanut brittle recipe and a corn syrup-free stovetop version you might want to try.
Now going back to maple candies and syrups, LOL. In less than two weeks, most of the candies are wiped out – every single time. The maple syrup, we usually use for different treats. The kids usually love it for pancakes, waffles, french toast, ice cream, and even bacon.
But a drizzle here and there would still leave us a few bottles of maple syrup. So what better way to use it than make more maple candies? And since hard candies are the kids’ top choice, then hard candy it is.
I’ve done a few posts about hard candies, so you probably know by now that hard candies are easy to make. However, those recipes require melting granulated sugar, which we won’t be needing in this recipe.
All we need is some maple syrup and a little bit of oil, nothing else! Well, the oil is optional, but there’s a bit of science in adding a little bit. Nevertheless, it’s so easy to make and you won’t be needing many kitchen tools, as well.
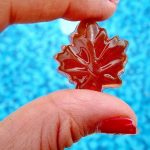
As for me, my friend sent me some maple leaf candy molds of different kinds, so I’m going to use them to give my candies an authentic feel. But this is completely optional, really. You may or may not use any candy molds for this.
I’m so excited to show you how to make hard candy out of maple syrup. You’ll surely appreciate how easy and fast it is to make.
How to Make Maple Syrup Hard Candy

As I mentioned, we’ve made several hard candies on this page and they all had similar processes of caramelizing sugar.
But this time, we are going to make the hard candy using another process.
Making maple syrup hard candies is directly heating the syrup in the pan. Some people use a little bit of oil to keep the maple syrup from foaming too much. There are two different things you can do this.
You can either dip the back of a spoon in vegetable oil and run it over the foam to reduce it. Or, you can simply add a few drops of oil to the maple syrup. But really, you can skip this part and just use maple syrup without using any other ingredient.
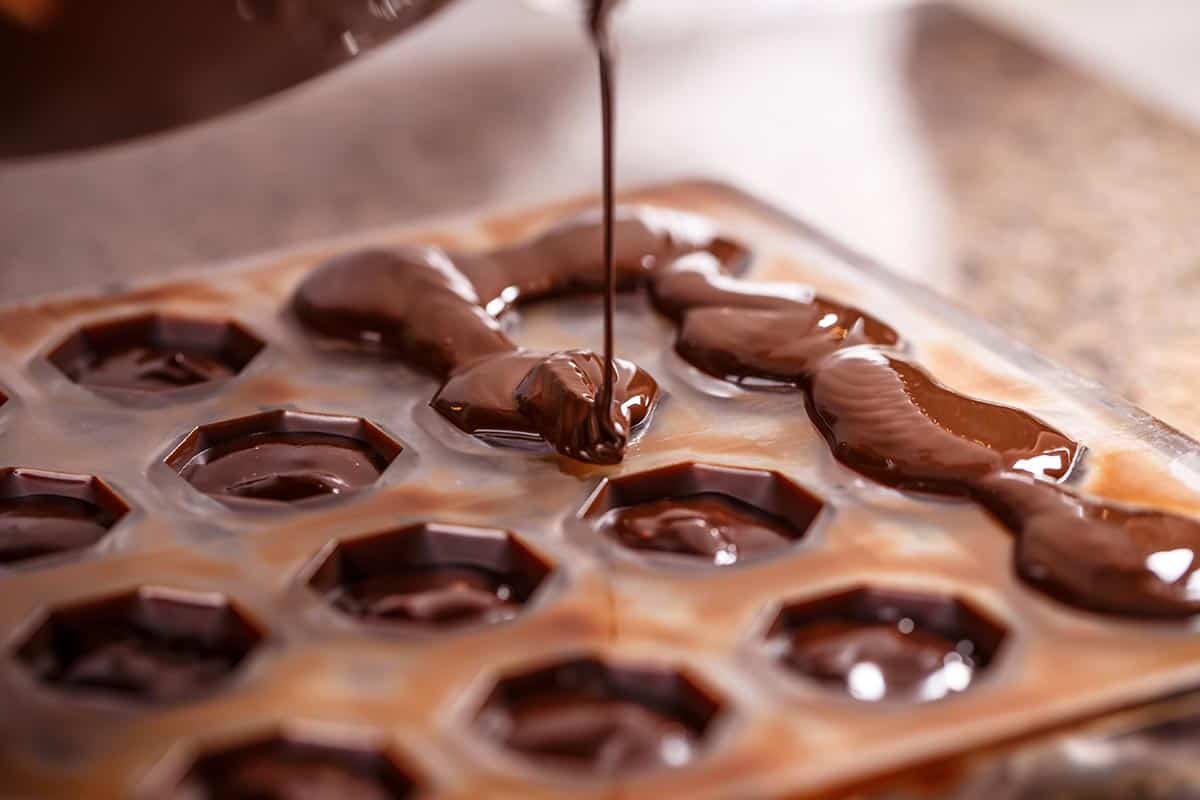
If you have candy molds, you can use it. If not, you can just pour the candy mixture onto a baking sheet and crack it into pieces when it’s cool and hard.
The only thing I recommend that you really use in making this hard candy is a candy thermometer. Other than that, there’s nothing else you’ll really need.
This is probably one of the simplest hard candies you can make.
Additional Tips
- If you have no candy molds, use a greased baking sheet instead. You may also line it with parchment paper before greasing, then follow steps 2-6.
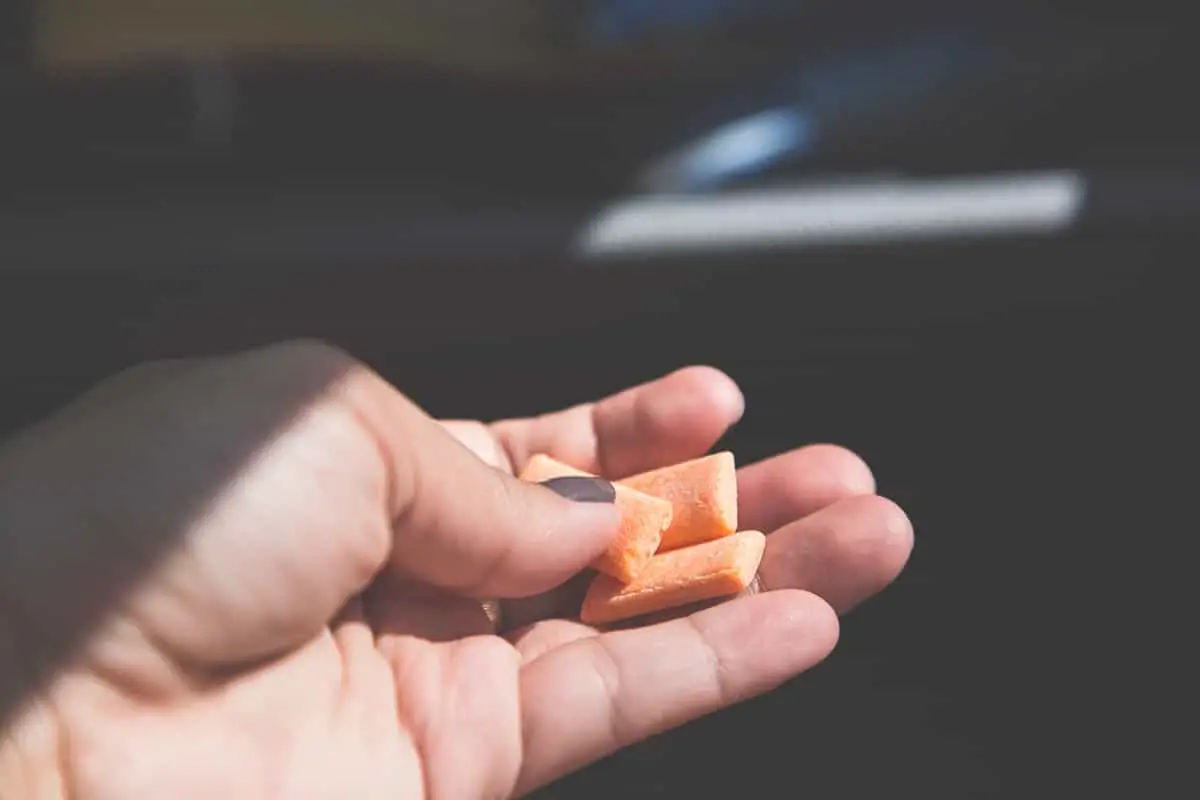
Once the candy has completely cooled, crack the candy and store it in an airtight container.
- If you like to add some nuts, do it after step 5.
- You can make some maple syrup cubes and grate some on top of ice cream, oatmeal, and other sweet dishes.
Maple Syrup Hard Candy Recipe
- Total Time: 40 minutes
- Yield: 1 lb. of candy 1x
Ingredients
- A few drops of vegetable oil
- 2 cups pure maple syrup
Instructions
- Prepare the candy mold before heating the maple syrup. Spray it with cooking spray to prevent the candy from sticking when it cools.
- In a heavy-bottomed saucepan, bring the maple syrup and oil to a boil over medium heat.
- When the maple syrup starts to boil, put in the candy thermometer and wait for the temperature to reach 235 degrees Fahrenheit (or 113 degrees Celcius). This should take no more than 30 minutes.
- Pour the syrup into a bowl and cool for 10 minutes. Do not exceed this time or else the candy will start to harden and you might have a hard time transferring it to the candy molds. If in case you missed the 10-minute mark and the syrup has started to harden, you can fix it by adding a little bit of water and re-boiling the mixture.
- Before pouring the syrup onto the candy molds, stir it to lighten the color. There are two ways you can do this. First, if you have a mixer, beat the syrup on medium-low speed for 1 minute. Or, you can just use a wooden spoon to stir the maple syrup for 5 minutes. The candy will start to appear thick and cloudy as it cools.
- Pour the mixture into the candy molds and let it cool completely for 1 hour.
- Release the candy from the molds and store in an airtight container.
- Prep Time: 5 minutes
- Cook Time: 35 minutes
- Category: Candy