This post may contain affiliate links. Please read my disclosure policy.
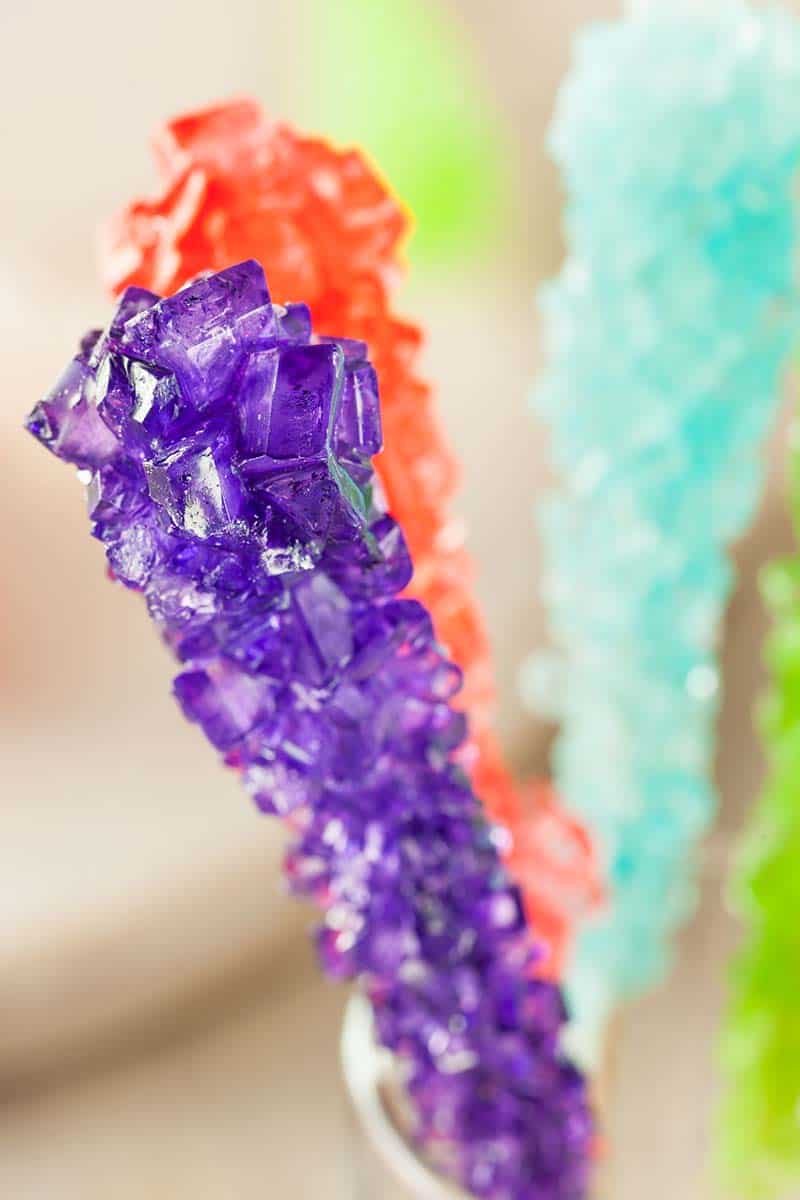
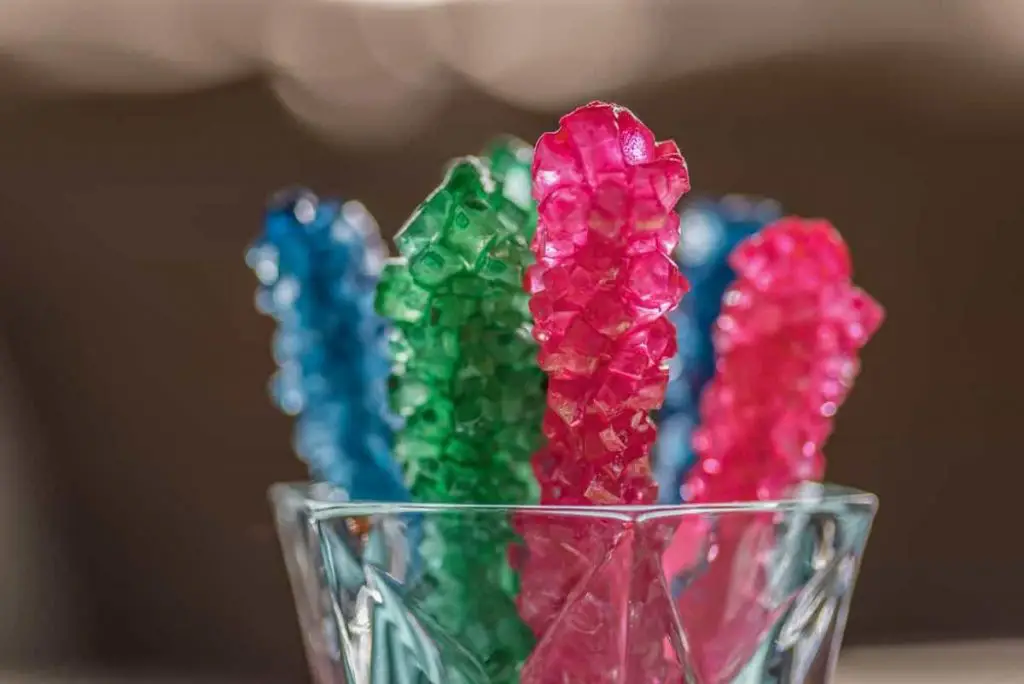
How to Make Sugar Crystals Fast
Okay, so you already probably know that this is our third take on this experiment. The first time was on a stick and the second one was on a string. Both yielded the same results – it took us a week or so to grow the crystals bigger.
Because of my son’s friend’s feedback and a little more research, I finally found that adjusting the ratio of the water and sugar will make the crystals grow faster. We previously used 1 cup of water for every 2 cups of sugar.
Changing that to 1 cup of water for every 4 cups of sugar will produce tremendous results. Believe it or not, after 4 hours, the sugar crystals already look like they’ve been grown for 7 days.
How to Make Sugar Crystals Fast at Home
If you’ve followed me from the start, you’ve probably already read or even tried my hard candy recipes. I’ve posted several of them.
There’s a recipe on how to make rock candy on a stick, another that shows you how to do it on a string, then there’s the rock candy geodes recipe.
I’ve enjoyed these recipes because they are kitchen science experiments that I did with the kids. These are great ways to incorporate some science learnings (and a lot of patience) while teaching them basic kitchen skills and food appreciation.
It’s like hitting a lot of birds with a single stone. Better than just hitting two, right?
Seriously though, these days I need to keep the kids busy to keep me sane. Some days I just want a break from all the running around and breaking fights over who gets to choose what game they’re playing or what movie they’re watching.
Luckily, they’re always up for a little challenge so sometimes it’s easy to distract them from turning the house into a complete mess.
When we first made rock candy crystals, our patience was tested so badly – including mine. It took 7 days to grow the crystals as big as we wanted them to be. The kids keep checking them every few hours or so.
Imagine hearing them whine a hundred times a day!
Although I must say, it was all worth it. I achieved what I wanted the kids to learn – a little chemistry of growing crystals using seed crystals. This is a great opportunity to teach them about saturated solutions, solvents, solutes, and precipitates.
The seed crystal in this experiment is the wet stick or string that was rolled or dipped in sugar. It is where the crystal will form and grow later in the process.
A saturated solution is a solution that contains more sugar than what can be dissolved by the water.
Solute refers to the sugar, solvent refers to the water, and the precipitate is the sugar crystals that were formed as a result.
As I’ve said, the first few experiments we made took us a week. But one of my son’s friends told him it’s possible to make sugar crystals in a matter of hours.
So I looked it up online and found almost nothing. I need to do a little more research and finally learn how to make sugar crystals fast.
I’m so excited to give the kids another experiment to keep them busy. This time, it became a contest – boys vs. girls – on who can make the biggest sugar crystal in 4 hours.
How Sugar Crystals are Formed

One of the key processes in forming sugar crystals is making sure you have the seed crystal. Without the sugar in the stick or string, there is practically nothing the crystals can hold on to, thus there will be a challenge in making it grow.
It is the seed crystal that promotes the growth of the sugar crystals, thus it’s important not to miss this step.
The first phase of the crystal making process is the nucleation where sugar molecules form into crystals when they bump into each other and are forced back together.
The moment a small crystal is formed, then you have your nucleation point. When other sugar molecules clutch or attach themselves to it, then the crystal grows bigger.
To cut it short, the seed crystals are the nucleation point, and it is where the sugar molecules form themselves eventually.
Feeling a little geeky now?
Really… without this experiment, it would’ve been hard for me to make the kids appreciate the science behind crystals.
Wrapping Up
After this experiment, we checked to see who the winner of the crystal-growing contest is.
Each team has 4 jars and the team that grew the biggest crystals is the girls’ team! Apparently, the boys undercooked their mixture so it will take more time for them to grow their crystals bigger.
Relatively, their crystals weren’t really that small, it’s just that the girls grew theirs bigger because they followed the instructions to a tee.
All in all, this was a fun activity. Although I just want to reiterate, this needs adult supervision. So don’t leave the kids to it on their own.
Print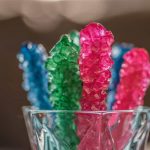
Fast Sugar Crystals Recipe
- Total Time: 20 minutes
- Yield: 8 candies 1x
Description
These sugar crystals are as much fun for the kids to watch grow as they are to eat when they are ready. They are like a little science experiment right in your kitchen.
Ingredients
- 4 cups of water
- 16 cups granulated sugar
- Optional: 4 drops food coloring, 4 different colors
- Optional: 1 teaspoon flavoring extract or oil, 4 different flavors
Other kitchen tools you’ll need:
- 16 bamboo candy sticks
- 8 clothespin
- 8 tall narrow glass or jar
- Candy thermometer
Instructions
STEP 1 – Prepare everything you need by starting with the jars and seed crystals.
Wash the jars and rinse with hot water.
Cut 8 skewers slightly taller than the height of the jars. Make sure they are clean before you wet and roll or dip them in sugar. Place it on a plate to dry.
STEP 2 – Put the water and sugar in a pot and bring to a boil over medium-high heat. Stir occasionally to ensure the sugar is not crystallizing on the sides of the pot or that you don’t burn the sugar.
STEP 3 – Place the candy thermometer and wait for the temperature to reach 230 degrees Fahrenheit (or 110 degrees Celcius) . This should be an accurate temperature because boiling it for less will make the sugar crystals form longer; boiling it too much will make the sugar crystalize even before you put in the seed sticks.
QUICK TIP: Make sure the thermometer doesn’t touch the bottom of the pot to ensure accurate temperature reading. This is the most accurate thermometer I’ve found at a reasonable price. It’s the only one I use and recommend.
If the sugar starts to bubble up too much, reduce the heat to medium. Boil for a few more minutes until the mixture becomes thicker and clearer.
STEP 4 – Once you reach the desired temperature, remove the pot from the heat, and wait for the temperature to reach 220 degrees Fahrenheit before adding the flavoring and coloring.
STEP 5 – WARNING: Adult supervision needed!
STEP 6 – Transfer the mixture to the jars – 2 jars per flavor.
STEP 7 – Make a bridge on top of the jar using the remaining wooden skewers. Put in the seed stick in the middle and ensure to keep a 1-inch gap from the bottom of the jar. Clip the seed stick to the bridge using a clothespin.
STEP 8 – Leave the jars for 4 hours, away from direct sunlight. Don’t let it sit longer or else the crystals might start growing at the sides and bottom of the jar.
STEP 9 – After 4 hours, remove the sticks and let the crystals dry for a few minutes.


- Prep Time: 5 minutes
- Cook Time: 15 minutes
- Category: Candy