This post may contain affiliate links. Please read my disclosure policy.
How to Make Hard Caramel Garnishes for Any Dessert
So I’m back with a caramel recipe again – how to make hard caramel garnish. Told ya I can’t get enough of chocolates and caramels!
The past caramel recipes make use of relatively different techniques and ingredients, if you may (or may not) have noticed.
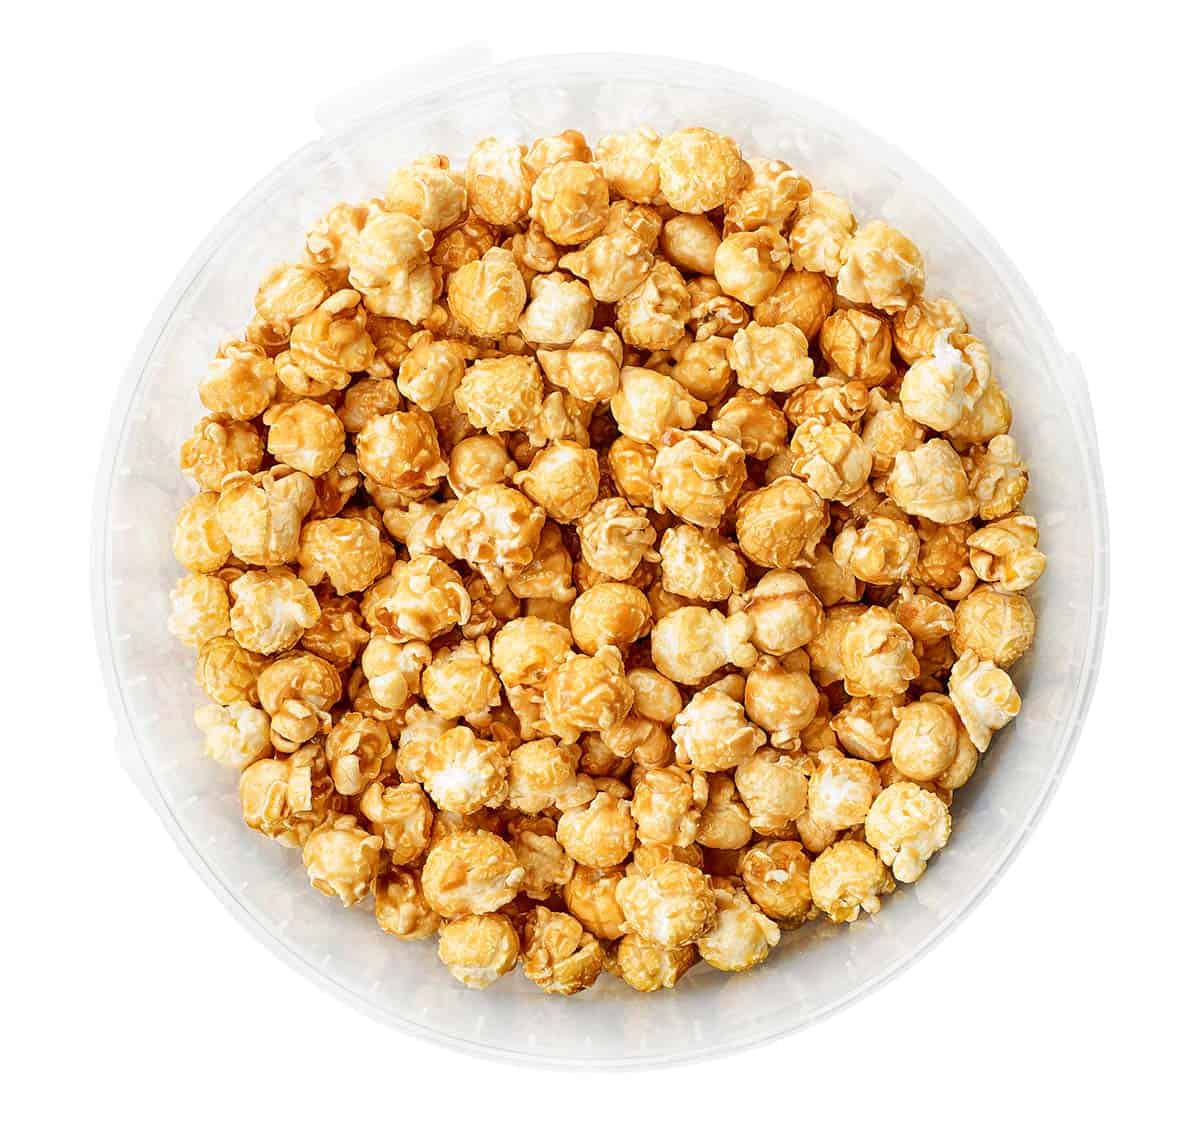
My caramel apple recipe is a corn syrup-free recipe that I made for Halloween. Then there’s my stovetop caramel popcorn that I can’t seem to get enough of. I also posted a recipe on how to make caramel without butter or cream, perfect for my coffee and cake.
I also have two peanut brittle recipes – one microwave and one stovetop version. Both are classics.
And if you need more, there’s this brown sugar caramel recipe I posted that is way better than white sugar caramel. It’s better known as butterscotch, by the way. (Spoiler alert: if you haven’t read my brown sugar caramel post, there’s a little back story there that makes butterscotch so memorable for me. FYI, it’s kinda embarrassing.)

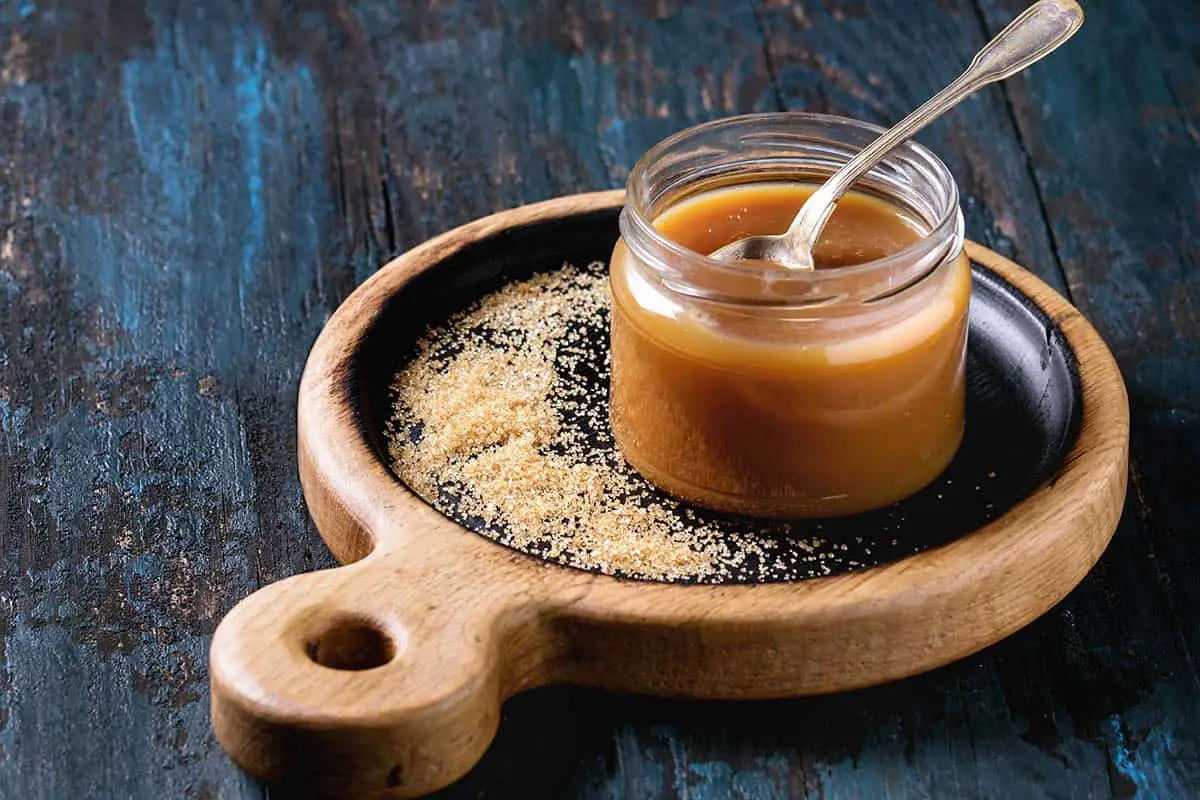
The last caramel recipe I posted is how to make chewy caramel without condensed milk. Something I always prefer because it’s richer and has a deeper flavor. I wouldn’t have it any other way.
If you into the detail of each post, you’ll see how the techniques used are different from each other. And with that, I’d add another caramel trick that might come in handy for you one of these days.
Actually, let me correct myself. Since today’s post is about hard caramel garnish, we won’t be doing just one – we’ll do a lot: spun sugar, bubble sugar, caramel cage, caramel spiral, caramel swirls, and caramel shards.
Caramel tuile is beautiful, but it’s a bit more complicated so I might need a post dedicated to it. I’ll update you guys on another day.
So basically, a caramel garnish is anything made of caramel that you use as a decoration for your other sweet dishes – ice cream, cakes, custards, pudding, and even drinks!
If you’re a caramel freak like me, then I’m pretty sure this will excite you. You don’t even need a cheesecake to make this as an excuse. You can just make it and nibble on in just because.
And you know what makes it even more exciting? These garnishes just make use of regular caramel recipes and you don’t need sophisticated tools to come up with the designs.
Did you even know that a ladle and a slotted spoon can make wonders in caramel garnish designs? Are you thrilled to know how?
We’ll get to the details in a bit.
How to Make Caramel Decorations
As I said earlier, we’ll just use basic caramel recipes then turn it into something so beautiful you might even refuse to eat it… not!
No matter how beautiful caramels become, I will never not eat them! LOL.
I know you’re excited, so let’s get into the tasty deets of how to make hard caramel garnish that your guests will love to crunch on. Trust me, no guest will go home unamazed. And you don’t even have to tell them it’s not that complicated.
Various Hard Caramel Garnishes
SPUN SUGAR
What you will need: rolling pin
STEP 1 – Let the rolling pin hang halfway over the edge of the kitchen counter.
STEP 2 – Hold the other edge with something that can keep it from falling like a bag of flour or you can tape it across the counter, whichever is easier for you.
NOTE: To keep your kitchen floor clean, cover it with newspaper right where the hanging side of the rolling pin is.
STEP 3 – Quickly drizzle the sugar back and forth the rolling pin using a fork. Make as many strands as possible depending on how big you want your garnish to be.
STEP 4 – Once you’ve drizzled enough sugar, carefully bring the ends together to form a loose ball.
STEP 5 – Place the ball of spun sugar in the baking sheet to rest until it reaches the hard crack stage.
BUBBLE SUGAR
What you will need: greased slotted spoon
STEP 1 – Drop 2 tablespoons of caramel in the greased baking sheet.
STEP 2 – Push it down with the slotted spoon and release once it starts to harden a bit and hold its own shape.
STEP 3 – Let the bubble sugar rest in the baking sheet until it reaches the hard crack stage.
CARAMEL CAGE
What you will need: greased soup ladle
STEP 1 – Drizzle the caramel over a greased soup ladle in a criss-cross pattern.
STEP 2 – Let it set and carefully remove from the ladle.
STEP 3 – Let the caramel cage rest in the baking sheet until it reaches the hard crack stage.
CARAMEL SPIRALS
What you will need: greased ladle handle
STEP 1 – Loop the caramel around the handle of a greased ladle.
STEP 2 – Let it set and carefully remove from the ladle.
STEP 3 – Let the caramel spiral rest in the baking sheet until it reaches the hard crack stage.
CARAMEL SWIRLS
What you will need: greased spoon
STEP 1 – Using a greased spoon, swirl the caramel in the greased baking sheet.
STEP 2 – Let the caramel swirls rest in the baking sheet until they reach the hard crack stage.
CARAMEL SHARDS
What you will need: greased baking sheet
STEP 1 – Pour the caramel onto the greased baking sheet.
STEP 2 – Let it rest until it’s hard enough to be broken into shards.
STEP 3 – Break the caramel sheet into pieces.
Print
Hard Caramel Garnish Recipe
- Total Time: 15 minutes
- Yield: Approximately 1 cup 1x
Ingredients
- 1 cup granulated sugar
- ¼ cup of cold water
- ¼ teaspoon lemon juice, fresh
Kitchen equipment you’ll need:
- A large bowl of ice water
- Greased baking sheet
Instructions
- Prepare the ice water bowl and greased baking sheet before starting. Once the caramel is cooked, you will have to move pretty fast.
- Mix all ingredients in a tall heavy-bottomed saucepan.
- ring the mixture to a boil over medium-high heat, between 5 to 8 minutes.
- Do not stir. Once the sides start to turn golden brown, swirl the pan around to help even out the color and keep the sugar from burning.
- Continue swirling until the mixture turns into a medium amber color. This should not take more than 30 seconds from the time you started swirling. Remember to keep an eye on the mixture as it tends to burn fast.
- Immediately remove the pan from the heat and plunge the bottom of the pan into the bowl of ice water. This should help stop the caramel from cooking some more and cool down the mixture without immediately turning to hard candy. Once the sizzling stops, it means the heat of the pan has evened out.
- You may now remove the pan from the ice water bowl and start working on your caramel garnish.
- Proceed with any of the garnish designs below.
Notes
QUICK NOTE: If the sugar has hardened along the way and has become impossible to work into designs, re-heat it for a bit just to warm it up.
Directions for various garnishes detailed below.
- Prep Time: 5 minutes
- Cook Time: 10 minutes
- Category: Candy