This post may contain affiliate links. Please read my disclosure policy.
Even when Halloween is over, it still feels like holidays to me. In fact, ever since I was a kid, I feel like the holidays start with Halloween and end with New Year. What with Thanksgiving, my birthday, and Christmas in between, it just feels there’s so much to look forward to at this time of the year.
In one of my most recent posts, I got rid of a bunch of Skittles by making Skittles cookies. My kiddos love to have them with the Skittles Frappucino that I adapted from Starbucks.
The only time they get treats like that is BEFORE we have a lot of outside running around time.
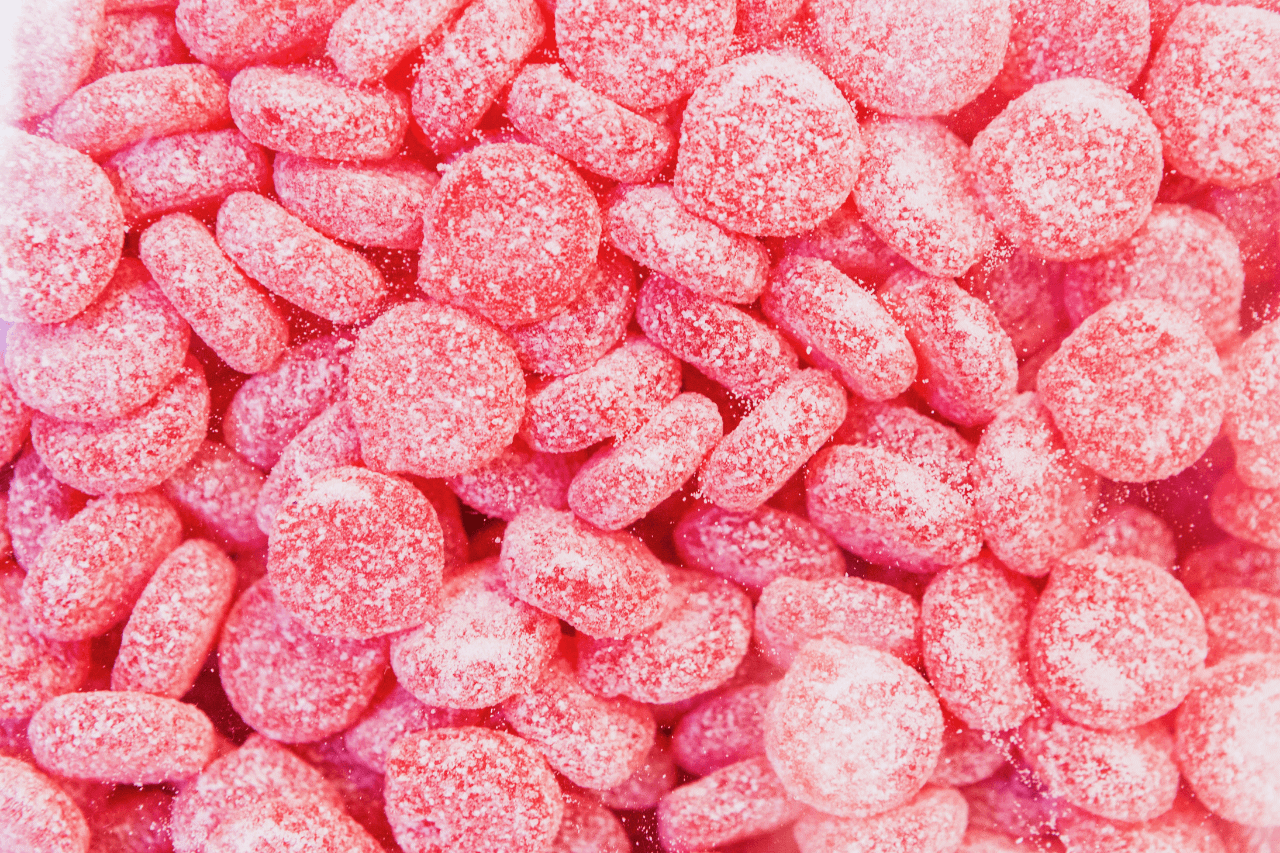
Anyway, the Skittles candies came from their Halloween loot. And since Thanksgiving is just around the corner, we’re expecting more and more candies so we need to deplete their stash fast.

I use the M&Ms for cookies and brownies. Other chocolate minis go on top of my cheesecake cups. The Skittles are taken care of and now I’m down to using up the Jolly Ranchers they got tired of eating.
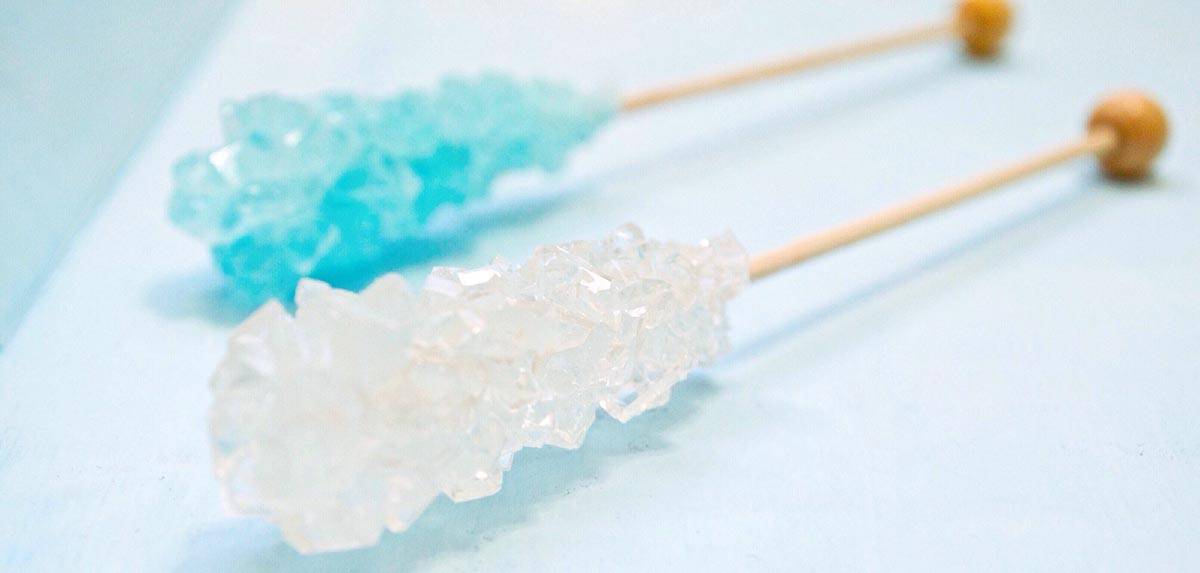
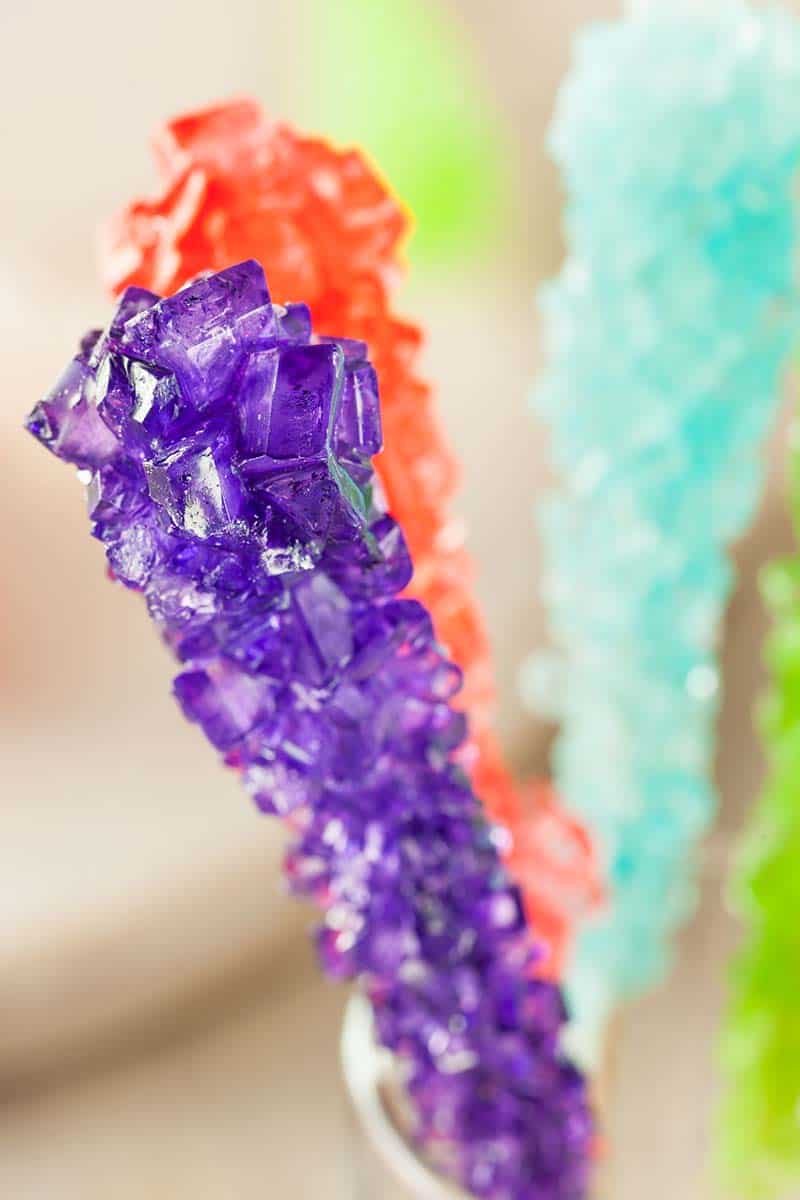
It’s funny how the kids ignore the leftover Jolly Ranchers, but when I turn them into lollipops, they disappear in a few days! I’ve used a bunch of different recipes for these lollipops over the years, although they all turn out the same.
In this recipe, I’ll show you how to make lollipops with Jolly Ranchers in three ways.
This will make for a fun activity with the kids over the holidays during their break or when you need to keep them from running around the house like crazy.
Although I’m sure they’ll have a sugar rush from munching on these lollies later, so they’ll run around just the same… HAHAHA!!!
Print
Jolly Rancher Lollipops (Method 1)
Description
For this method, you’ll be melting the candies in the oven without using molds. It’s so easy that you can do it in a few simple steps.
Ingredients
- Jolly Rancher Candies
Other Kitchen tools you will need:
- 4-Inch lollipop sticks
- Parchment paper
- Baking sheet
Instructions
- Preheat the oven to 275 degrees Fahrenheit.
- Line the baking sheet with parchment paper.
- Unwrap the Jolly Ranchers and place two or three candies side by side, as close as possible. This makes one lollipop. Let the kids do this so they can choose their own color combinations. As the candies melt, they will form one lollipop and melt to the side so leave enough space in between candies to ensure the lollies don’t stick to each other then they melt.
- Place in the oven for 5 to 7 minutes, but check at the fifth minute to ensure they don’t fully melt into liquid form.
- Remove from the oven and quickly push the lollipop sticks into the melted Jolly Ranchers. Make sure to roll the sticks gently to completely cover them with the melted candy.
- Put back in the oven for another minute just to ensure the sticks are completely covered.
- Let the lollies rest at room temperature for 20 to 30 minutes before removing them from the parchment paper.


- Category: Candy
Jolly Rancher Lollipops (Method 2)
Description
This method is a hack for when you don’t have the oven available, but have a lollipop mold ready.
Ingredients
- Jolly Rancher Candies
- Hot water
Other Kitchen tools you will need:
- 4-Inch lollipop sticks
- Pyrex measuring cup or a mug
- Lollipop mold
- Nonstick cooking spray
- Paper towel
Instructions
- Unwrap 4 Jolly Ranchers of the same color and place them in a mug. The kids can experiment with their own color combinations if they like, but it won’t have the same effect as Method 1 above because this one will completely melt and mix together.
- Spray the sucker part of the mold with nonstick cooking spray and lightly wipe off the excess with a paper towel.
- Microwave the candies in the mug for 30 seconds on medium heat. Heat again for another 15 to 30 seconds on medium-high heat to make the mixture bubble.
- Quickly yet carefully pour the melted candy into the lollipop mold and insert the lollipop sticks immediately.
- Rinse the mug with hot water to melt the leftover candies.
- Repeat Steps 1 to 6 until you have all the lollies you need.
- Chill for about 30 minutes before popping the lollipops out of the mold.


- Category: Candy

Jolly Rancher Lollipops (Method 3)
Description
This final method is when you have some lollipop molds and want to melt the candies in the oven. It’s like a combination of the first 2 methods above.
Ingredients
- Jolly Rancher Candies
- Optional: Sprinkles
Other kitchen tools you will need:
- 4-Inch lollipop sticks
- Heatproof lollipop mold
- Baking sheet
- Parchment paper
- Ziplock bag
- Cutting board
- Rolling pin
Instructions
- Preheat the oven to 200 degrees Fahrenheit.
- Line the baking sheet with parchment paper.
- Unwrap the Jolly Rancher candies and place them in a ziplock bag by color.
- Place the bag on top of the cutting board and break the candies into small pieces using a rolling pin.
- Fill each mold generously with broken candies.
- Place the mold on the lined baking sheet and pop it into the oven.
- Melt the candies for 5 to 6 minutes.
- Remove the mold from the oven and quickly insert the lollipop sticks.
- OPTIONAL STEP: Top with sprinkles immediately before the candy starts to harden.
- Chill for about 30 minutes before popping the lollipops out of the mold.

Notes
- Once you take the melted candy out of the heat, you have to work fast to place the sticks because it will start to harden as it starts to cool.
- If you’re adding sprinkles, you need to be fast in adding them as well.
- It’s important to use parchment paper and not wax paper. If you don’t have parchment paper, use a silicone mat instead.
- Category: Candy