This post may contain affiliate links. Please read my disclosure policy.
My first post about gummy candies was after the time we attended a birthday party with such beautiful homemade Lego gummies. I thought they were store-bought at first but I found out later on that they were not.
I ended up getting the recipe from the kind lady who made them and I happily made them for my kids at home. The only problem I had with the recipe was that it required corn syrup.
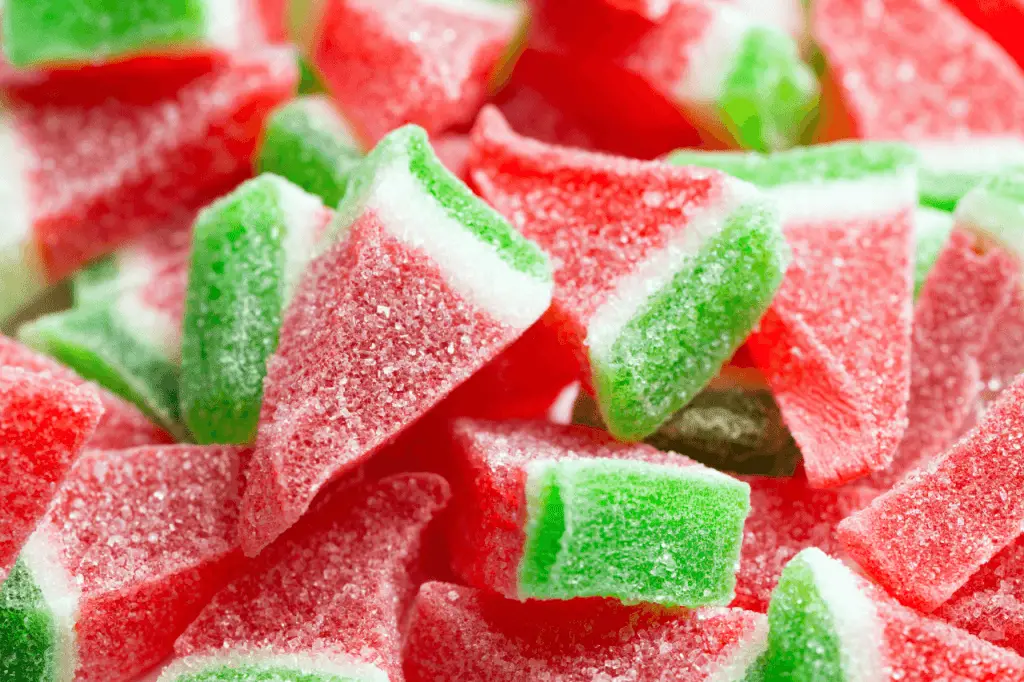
If you’ve seen some of my posts, you’d see how I try to steer clear of corn syrup if I can. So after doing that recipe, I explored how I can get the same result without using corn syrup.
I had some takeaways from that recipe and I was able to put them to good use seeing how I can now nail my gummy candies.
Before that recipe, mine would always fail and I just couldn’t quite get the correct consistency. They’d either be too watery in one batch, have not enough gelatin the next, or have too much gelatin after.
With a few reminders, it was easier for me not to fail my gummy candies. So, I can now confidently do it using the flavors that I want and not rely on Haribo’s standard flavors. Plus, I can always make them fresh, so stale gummies are thing of the past!
5 Tips For Better Homemade Gummy Candies
1. Bloom the gelatin properly
This is one of the most common mistakes in using gelatin. We sometimes want to speed up the process by skipping the blooming part because gelatin powder is granulated and very refined. We think it will easily dissolve in hot liquid and get the same result as properly blooming it.
The proper way to bloom or hydrate the gelatin is to dissolve it in cold liquid and not hot. All you have to do is place a small amount of liquid in a small bowl and sprinkle the gelatin evenly. Let it stand for 5 minutes until the gelatin is absorbed and starts to swell.
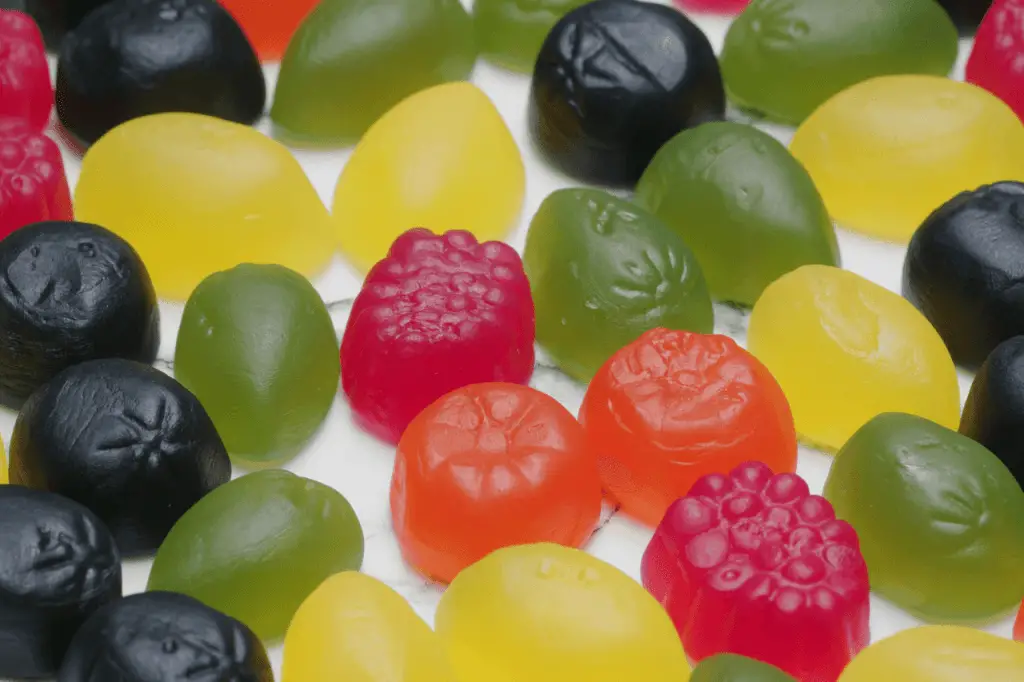
This process is called blooming and is usually done using water but can also be done using juice or tea.
2. Do not use hot liquid as a base
As mentioned above, although gelatin powder is very refined, you shouldn’t bloom it with hot liquid. Using cool or cold liquid is the proper way to do it and will yield the best results.
3. Use a spouted measuring cup instead of droppers
I know that a lot of candy molds come with droppers. Although it’s convenient to use, it’s not ideal for gummy candies. They will ruin the texture of the gummies because droppers add too many air bubbles to the candy mixture.
The simplest way not to incorporate air bubbles into the mixture when filling the molds is by using a spouted measuring cup to pour the melted gummy mixture.
4. Use the correct proportions
If you’re thinking of adding more portions of the ingredients to enhance the flavor of the candies, make sure to use the correct ratio to also get the correct texture.
5. Use an interfering agent
Interfering agents are ingredients that prevent crystal growth in candies, the most popular of which is corn syrup. If you’re like me who wants to avoid that artificial ingredient, you can use non-artificial ones. These include cream of tartar, vinegar, and lemon juice. However, in the case of gummy candies, I’ll be using citric acid, which is basically lemon juice.
I know this post is long overdue as promised before. Finally, here’s an updated version of my gummy candies without an artificial interfering agent.
Print
Gummy Candy With Jello Recipe
- Total Time: 3 Hours and 30 Minutes Max
- Yield: Approximately 50 Pieces 1x
Description
It turns out, it’s easy to make gummy candies without corn syrup. And that means it’s better for you, which I means you can eat more of them without feeling guilty, right?
Ingredients
- 3 ounces Jell-O Gelatin Dessert Powder – pick your favorite flavors
- 1 7.2g pack of Knox unflavored gelatin
- ⅓ cup of cold water
- ¼ teaspoon citric acid
Kitchen tools you’ll need
- Paper towel
- Nonstick cooking spray
- 2 silicone candy molds
- Microwavable spouted measuring cup
- Baking sheet
Instructions
- Spray the paper towel with nonstick cooking spray and use it to grease the candy molds lightly.
- Bloom the gelatin. To do this, place the cold water in the microwavable spouted measuring cup and sprinkle the flavored and unflavored gelatin evenly over the top.
- Stir gently until well combined. Make sure not to stir too fast to prevent air bubbles from forming.
- Let it sit for 10 minutes.
- Gently stir the mixture again and place the bowl in the microwave and heat for 30 seconds on high.
- Gently stir again and reheat for another 15 seconds. Repeat 3 times until the mixture becomes clear. NOTE: Look out for bubbles. If you notice any bubbles forming, take the bowl out of the microwave immediately and stir gently.
- Let it rest for 10 minutes but stir every 2 minutes to achieve a clearer consistency.
- Pour the mixture onto the candy molds as gently as you can. Fill each cavity up to the top, but not to the brim.
- Rest for another 30 minutes before putting in the fridge and leave for 30 minutes.
- Take the molds out of the fridge and pop each candy out of the mold. Repeat using other color and flavor combinations if desired.
- Serve and enjoy!
Notes
Resting Time: 3 Hours 10 Minutes
- You can dehydrate the gummies by lining them on a baking sheet in an upright position for 48 hours. After this, lay each of them down and leave them for another 24 hours. This process will help take the moisture out and make the gummies as chewy as the store-bought candies.
- Keeping the gummies in an airtight container will make them last for weeks. Sprinkle them with a little bit of cornstarch to keep them from sticking to each other.
- Use the candy molds of your choice to give you different shapes and designs. LINK
- For an enhanced sour flavor, use ½ teaspoon citric acid instead of ¼.
- Prep Time: 5 Minutes
- Cook Time: 15 Minutes Max
- Category: Candy

