This post may contain affiliate links. Please read my disclosure policy.
On Halloween, I made my own treats to give to the kids. Our neighborhood has over 50 kids so I get to save a few dollars when I hand out homemade treats instead of storebought. Plus, I find it fun when I spend time with my kids in the kitchen.
This year, Pinterest gave us so many ideas. We made witch fingers, “boo-nana” pops, Frankenstein marshmallow pops, Jack Skellington chocolate-covered apples, white chocolate mummy pretzels, pretzel pumpkins, and Mummy Nutter Butters.
Besides having a Halloween theme, what else can you find in common with all these treats? Did I hear candy melts? Yes, candy melts!
Thankfully, candy melts now come in different colors so we get the perfect colors for everything we need. We needed black, white, green, orange, red, and brown for all the above treats and we didn’t have to use any food coloring.
We made sure to choose the easiest DIY treats we can find because we needed a lot of each. We didn’t only make treats for the kids, we made some for teens and some for adults too. Admit it, even us grown-ups like a treat once in a while!
So to ensure everybody has something to enjoy, we made about a hundred of each treat. We had to budget for all the treats we eat while we’re making them, LOL.
I especially enjoyed the marshmallow pops and pretzel pumpkins. It took about a day to prepare all of them, but it was so much fun! I wanted to keep the kids away from gadgets for a while and a little kitchen adventure is always a welcome distraction.
You can probably imagine by now how much candy I had to melt. But it’s one of the rare moments when the kids are on full-on mode in the kitchen so I’m not complaining. In fact, I love it!
There are several ways we can prepare candy melts, but this time I used coconut oil just because it’s easy to find and inexpensive. Plus, I still have a lot in the pantry so why not?
If you’re curious, let me show you how to thin candy melts with coconut oil.
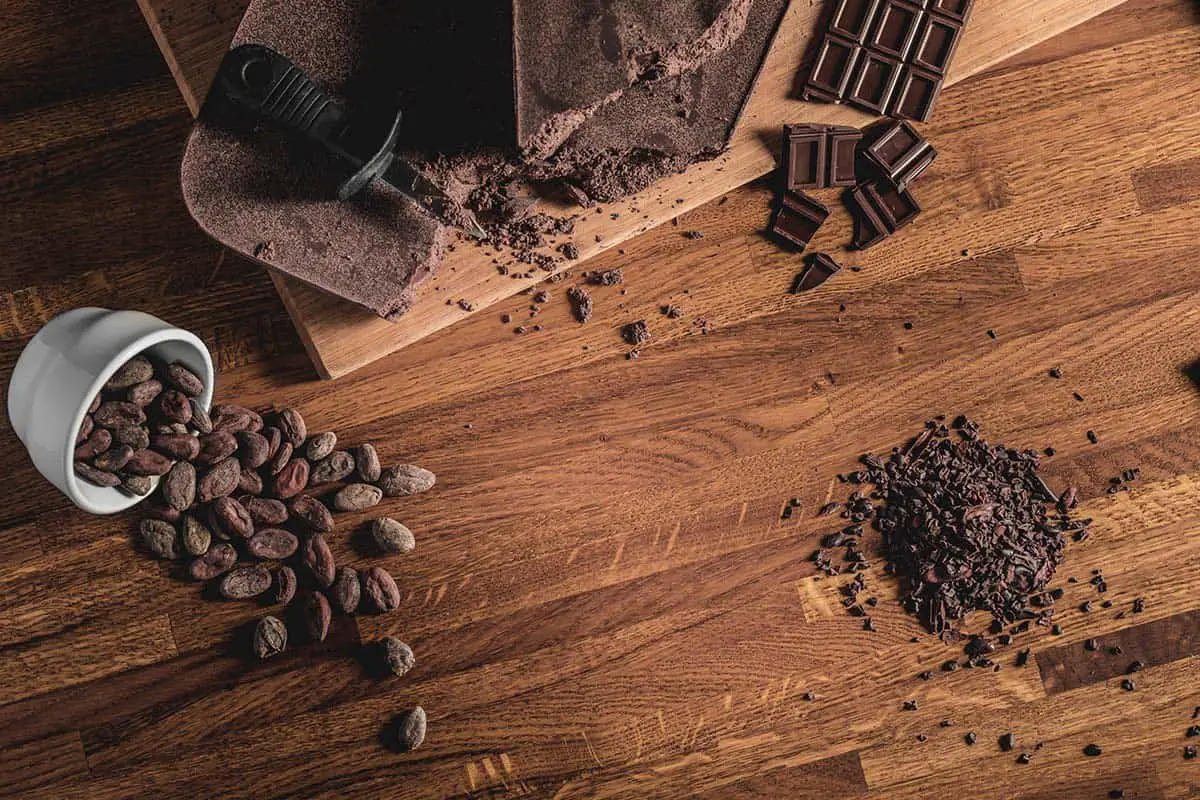
What Are Candy Melts?
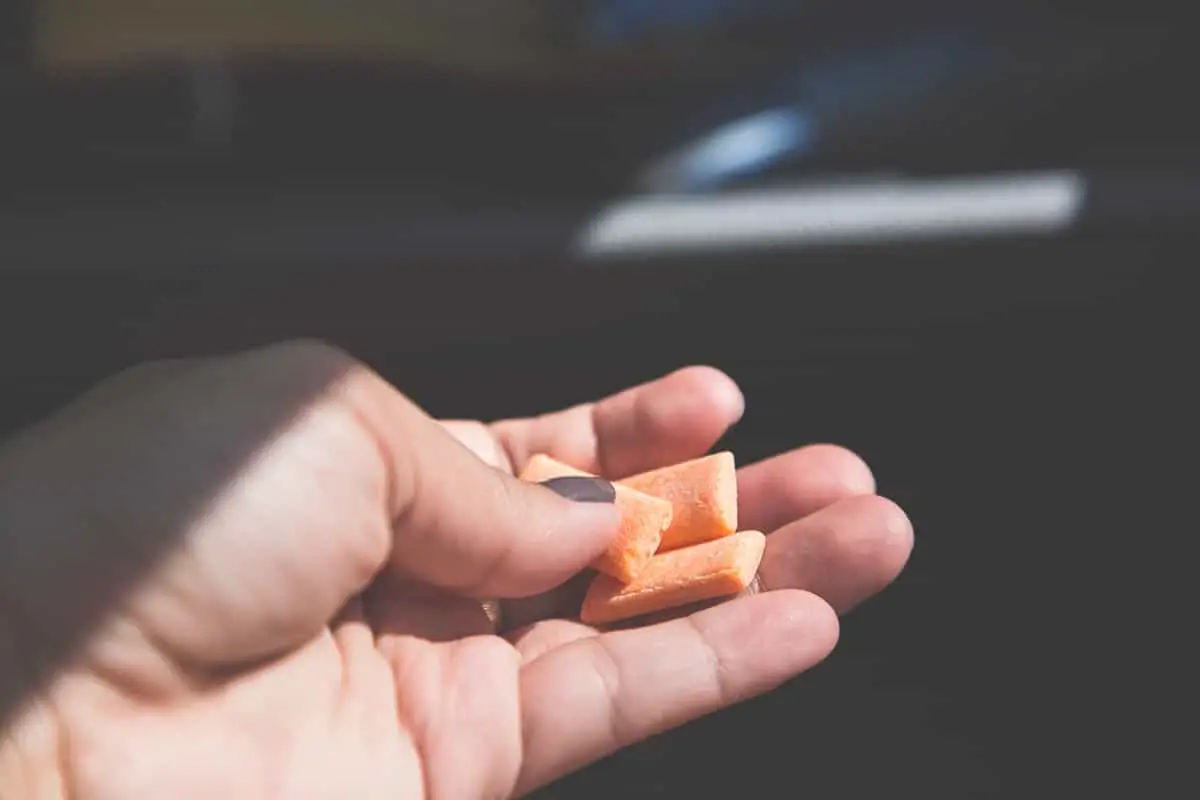
Candy melts, also known as confectionery coating or summer coating, are imitation chocolate made to imitate white chocolate. They are made of milk solids, vegetable oil, sugar, flavoring and food coloring.
They are used for baking and decorating desserts and other treats. They come in a variety of colors, allowing bakers to beautify their goods such as cakes and cookies.
They are called candy melts because they need to actually be melted so you can use them as coating. Although they’re edible as they are, they are rarely used without being melted.
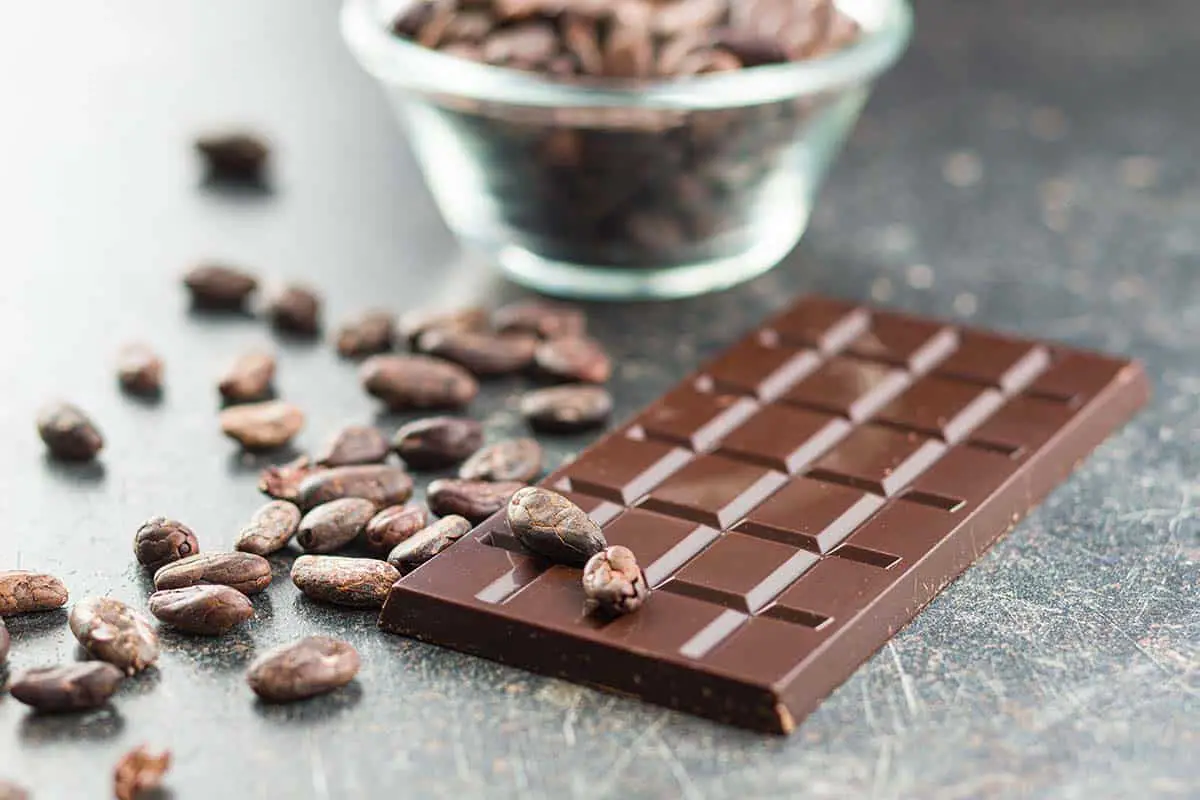
Candy Melts vs. White Chocolate
The fat used in candy melts is vegetable oil, while white chocolate uses cocoa butter. Although they almost look and taste the same, it’s important to note that candy melts aren’t really chocolate. As mentioned, candy melts are imitating white chocolate.
In this sense, candy melts are silky to the touch and are really smooth. They are stretchy, unlike milk chocolate. Milk chocolate, on the other hand, is silky to the tongue, but has an essential graininess.
Why You Should Thin Candy Melts
One of the assumptions of candy melts is that you can just melt and use them right away. The thing is, it can be quite thick when melted, so it needs to be thinned.
If you use it thick, without thinning, it will be hard to use as a coating or for dipping your goodies in. Doing so will make the coating break easily. Reheating it to melt several times will burn the candies eventually.
Thinning will give you a better consistency that is easier to work with. As a result, you will have a smooth texture which is the best for coating treats and goodies.
Can You Eat Them Out of the Bag?
Candy melts can be eaten as they are, but that doesn’t mean you should. While they have this milky flavor, they don’t taste like real white chocolates. They taste better when flavored or paired with treats than eaten straight out of the bag.
How to Thin Candy Melts with Coconut Oil
There are two different ways you can thin your candy melts using coconut oil. Look into the following to see which method you prefer.
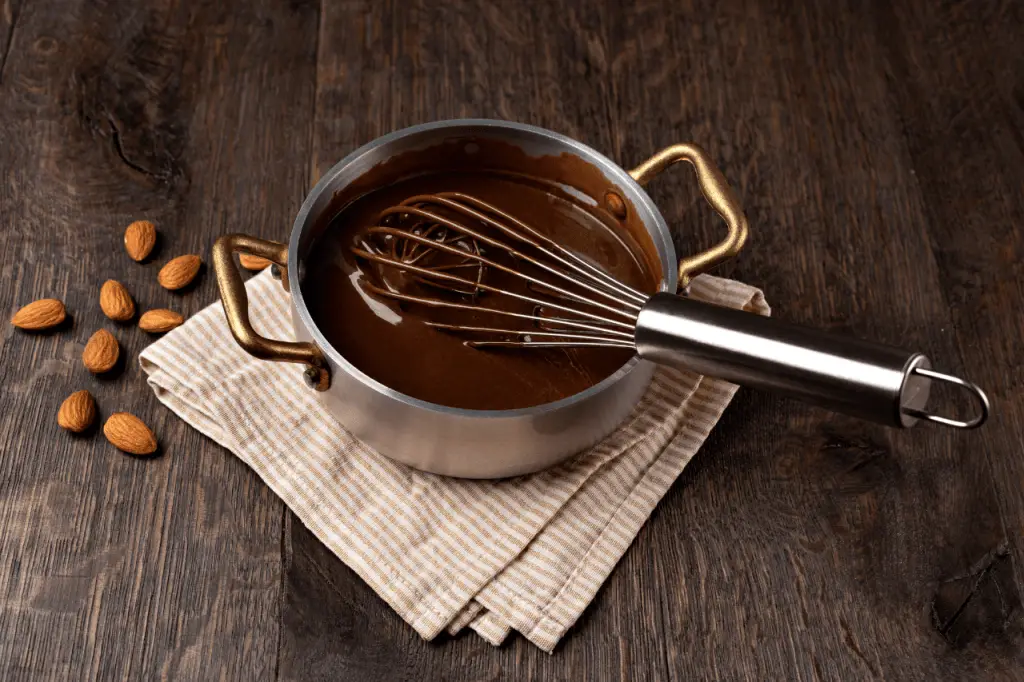
1. The Double Boiler Method
Use a small saucepan as the base of your double boiler and a glass bowl as the upper half. The sauce pan will contain the water that you heat up. The bowl should fit snugly on top of the saucepan, but not touch the water beneath it.
Boil some water in the saucepan and bring it down to a simmer. Pour a small bag of candy melts and a tablespoon of coconut oil into the bowl and place over the pan of hot water.
Stir continuously until most of the pieces have melted. Remove the bowl from the pan and continue stirring until smooth.
To check and confirm if you’ve achieved the consistency you’re looking for, get one of your goods and dip it in the melted candies. If the consistency is too thin, add a few more pieces to the mixture. If it’s thicker than you prefer, add in a little more coconut oil and stir until well combined.
2. The Microwave Oven Method
This method is faster than the double boiler method, but it is a more delicate process. That’s because candy melts seem to work better with agitation so it melts faster when stirred rather than being left alone.
Sometimes, they hold their shape, but when stirred, you’d find they’re already melted. As such, you have to stir it every 20-30 seconds.
Place a small bag of candy melts in a microwavable bowl and add a tablespoon of coconut oil. Heat in the microwave for 30 seconds at medium heat. Stir the candy melts and heat again for another 30 seconds.
Stir the mixture again to see if all pieces have melted and if you have your preferred consistency. Heat for another 30 seconds if there are still lumps.
Just like in the double boiler method, if the consistency is too thin, add a few more pieces to the mixture. If it’s thicker than you prefer, add in a little coconut oil and stir until well combined.
These steps are the same as when you melt chocolates. The amount of coconut oil you need to add depends from one brand to another so you’d have to check your consistency before working on decorating your goodies.