This post may contain affiliate links. Please read my disclosure policy.
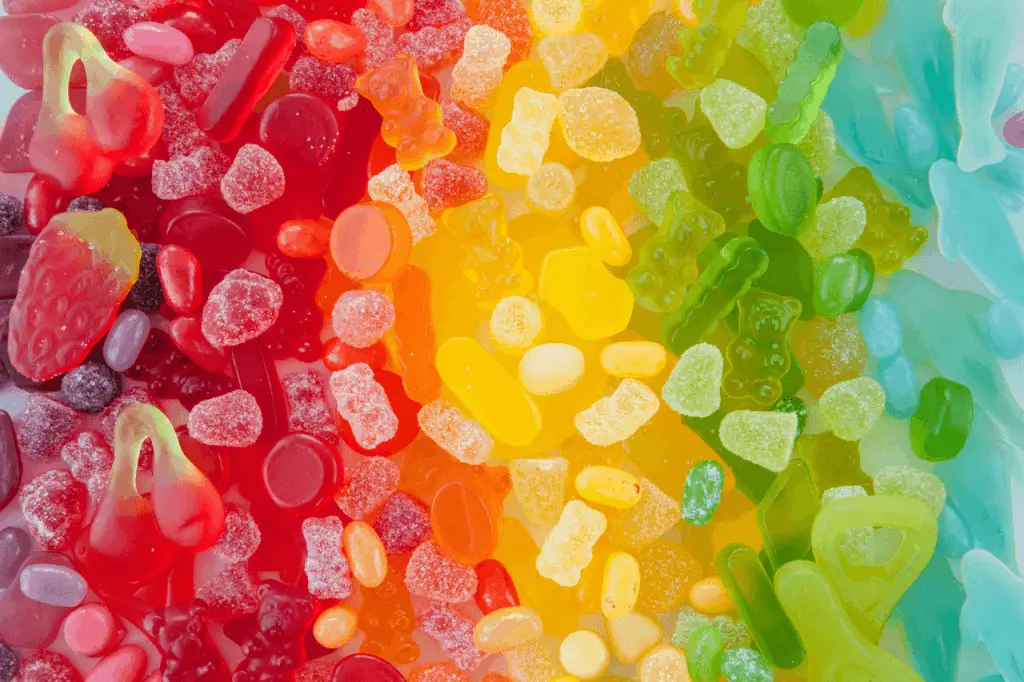
My friend taught me how to make great homemade gummy candies. That was about a year ago. And I’ve been making gummy candies at home with my kids ever since.
Before that, I failed so many times that I just stopped doing it for a while. In my homemade gummy recipe post, I shared there a few things I learned to ensure the gummy bears won’t be a disaster.
I’ve been using my gummy bear candy molds for a while when somebody in my neighborhood sent me a Nostalgia GCM600 Electric Giant Candy Maker.
My first impression was that it’s an adorable piece of kitchen equipment. It’s colorful, it has four molds with different designs (bears, worms, and fish), it has its own melting pot, and you can put ice underneath each mold to help the candies cool and set faster without the help of a refrigerator.
It’s like a one-stop-shop of all gummy candy makers. And it has a giant gummy bear mold, too!
And guess who was so excited to see the candy maker, too? The kids, of course! That same afternoon, we were all busy trying out our new kitchen toy.
But before I go deeper into what I think of this fun kitchen equipment as a whole, let’s see what this product has to offer.
What’s in a Nostalgia GCM200 Electric Giant Gummy Candy Maker
Here are some product highlights of the Nostalgia GCM200.
- Simple on and off switch
- 2 removable melting pots with pouring spouts
- A heated base to melt the candy mixture
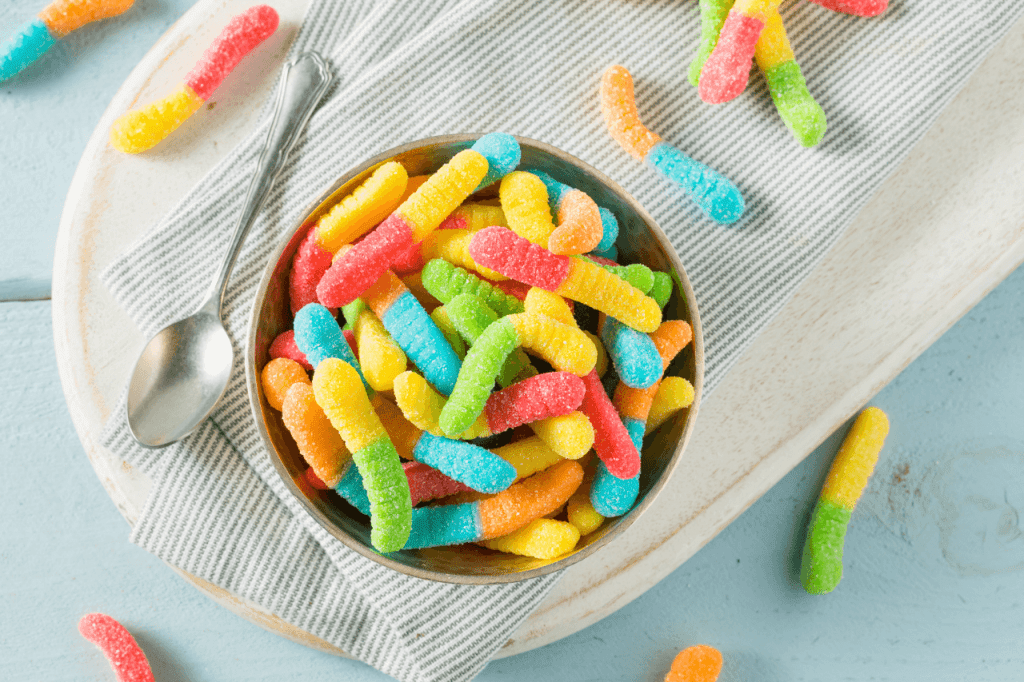
- 4 gummy candy molds that can make 3 designs – bear, fish, worm
- Ice tray underneath each mold to make the gummies set faster
- Includes 1 giant gummy bear mold
- Can be dismantled for easy cleaning
- BPA free
With just one glance, you can easily say that it’s a promising device that can make any candymaker’s life easier. At least in terms of making gummy candies, that is.
It is not complicated to operate, all you need to do is switch it on and off. No complex buttons and you can immediately see that you’re kids could probably use it on their own, if they’re old enough.
It’s also convenient that there are two melting pots you can use to make different colors and flavors. The easy-pour spouts also make it easier to pour the melted gelatin onto the candy molds.
I like that they thought of spouts instead of droppers because droppers add air bubbles that you don’t want in your gummy candies.
I think it’s also brilliant that there’s an ice tray underneath each candy mold. That way, your candy mixture cools faster and sets quicker even when you just leave it there.
But what I was most excited about is the giant gummy bear mold. I’m a sucker for gummy bears and a giant one is something new to me. So can you imagine how ecstatic the kids were when they saw the huge gummy bear mold? I’m sure they were more excited than I was!

Another thing I like about it is that you can easily disassemble it for easier cleaning. Just remove the pot and the molds and wash them in the sink or even in the dishwasher.
As I said, because of these features, I find this product amazing. It’s ideal for kids’ sleepovers, family time or even rainy day activities.
Now it’s time to see if the promising features would match the performance and if it can indeed make every candymaker’s life easier.
Nostalgia GCM200 Electric Giant Gummy Candy Maker Review
One thing I appreciate about the product is that the manual comes with three recipes – the basic gummy recipe, vitamin gummy recipe, and energy gel chews recipe.
At least, for the first time you will be using the product, you will have the correct proportions needed to make one batch. I like having a general idea of what I need rather than mixing something up that is either not enough or just too much.
We tried the basic and sour gummies recipe first. This recipe is what’s in the manual and we followed the exact measurements.
What I Think About Nostalgia GCM200 Electric Giant Gummy Candy Maker
No doubt it is a fun kit to use with the kids. But I’m not really sure I can let them use it on their own until they’re older.
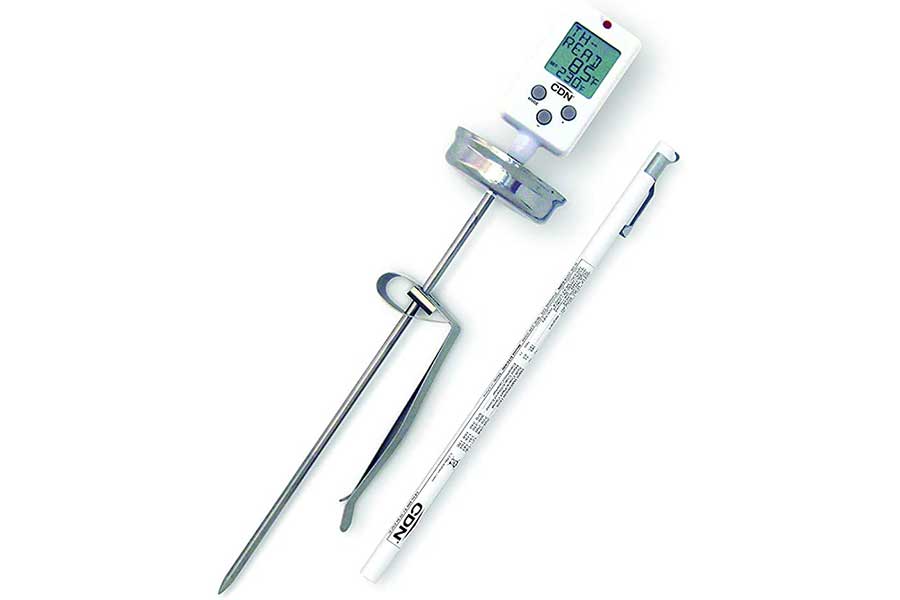
There are no clear instructions exactly how many minutes the gelatin should be heated so you have to estimate on your own.
We were heating the mixture for over 5 minutes, but the heating base wasn’t as hot as the stove top. Probably because that would melt the plastic melting bowl. To speed up the process, I transferred the mixture to a pot and cooked it in less time on the stove.
You can’t use it for big batches, so you’ll only have 22 bears, 9 fish candies, and 7 worms as a max size per batch.
There was also no instruction when to put the ice underneath the molds. If I happen to miss out on this part in the manual, do message me. I assumed that the ice should be put in the ice tray right before we poured the melted gelatin and that worked just fin.
All in all, I will score this kit 4 out of 5 in terms of candy making. The features, for me, didn’t match its performance.
As a candymaker, I can’t say it can replace the procedure I learned from my friend.
It was fun, yes. It’s something you can enjoy with the kids. But it’s not something that can produce mass quantities of candies.
The teens can use it on their own, but make sure that smaller kids have adult supervision when using this product.
The Result
- Using 5 packets of gelatin for just a cup of water came out too chewy for us. Since the kids are already used to the gummy candies I make on the stovetop they have a good benchmark for the results.
- We tried another batch using 3 packets of unflavored gelatin and it turned out better than the first batch.
- The spout was easy to use on the bears and fish but it was a little messy on the worms. We tried to use teaspoons and the result was less messy for us.
- We also tried the revised mixture for the giant bear and it was what we liked the most.
- Getting the big bear out of its’ mold was a little tricky though. We tried to unmold by running a knife around the edges of the mold but had the risk of ruining the edges. We placed the mold in a bowl of warm water instead.

Basic and Sour Gummy Creatures Recipe
Description
Making gummy candies doesn’t get much easier than using a device like the gummy maker featured in this blog post. It’s so simple your kids could do it completely on their own.
Ingredients
- ½ cup of cold water
- 1 3oz. a packet of flavored gelatin
- 4 packets unflavored gelatin
Instructions
- Mix the flavored and unflavored gelatin in the pot and add cold water. Stir and press the ON button.
- Mix until the candy mixture is runny.
- Carefully pour the mixture into the molds and let chill. NOTE: For sour gummies, add ½ packet of flavored drink mix to the dry gelatin mix.
- Category: Candy