This post may contain affiliate links. Please read my disclosure policy.
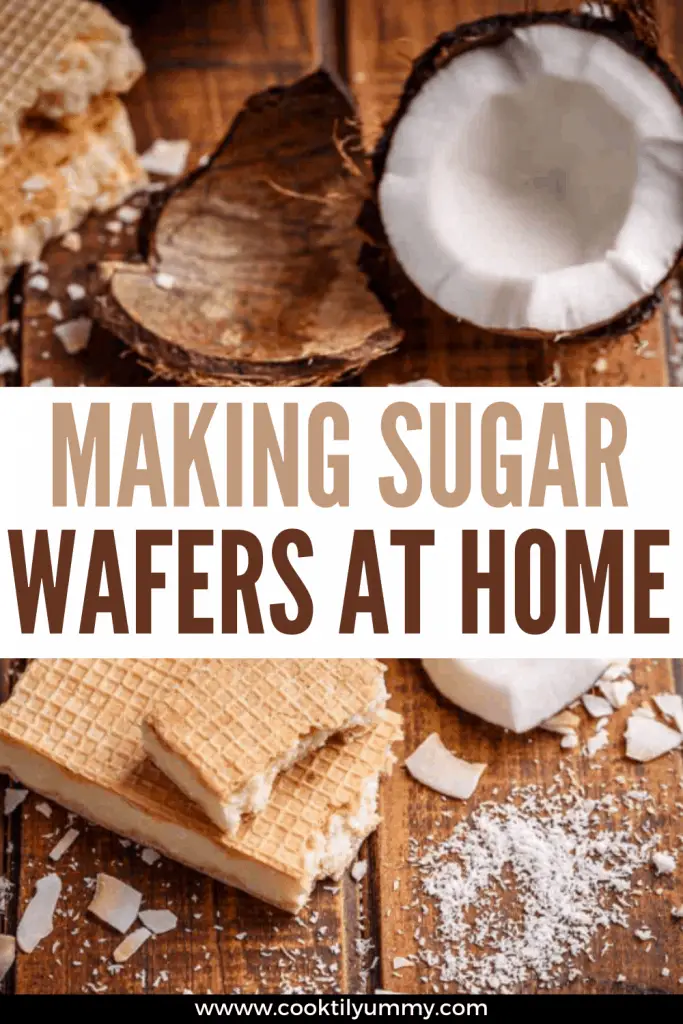
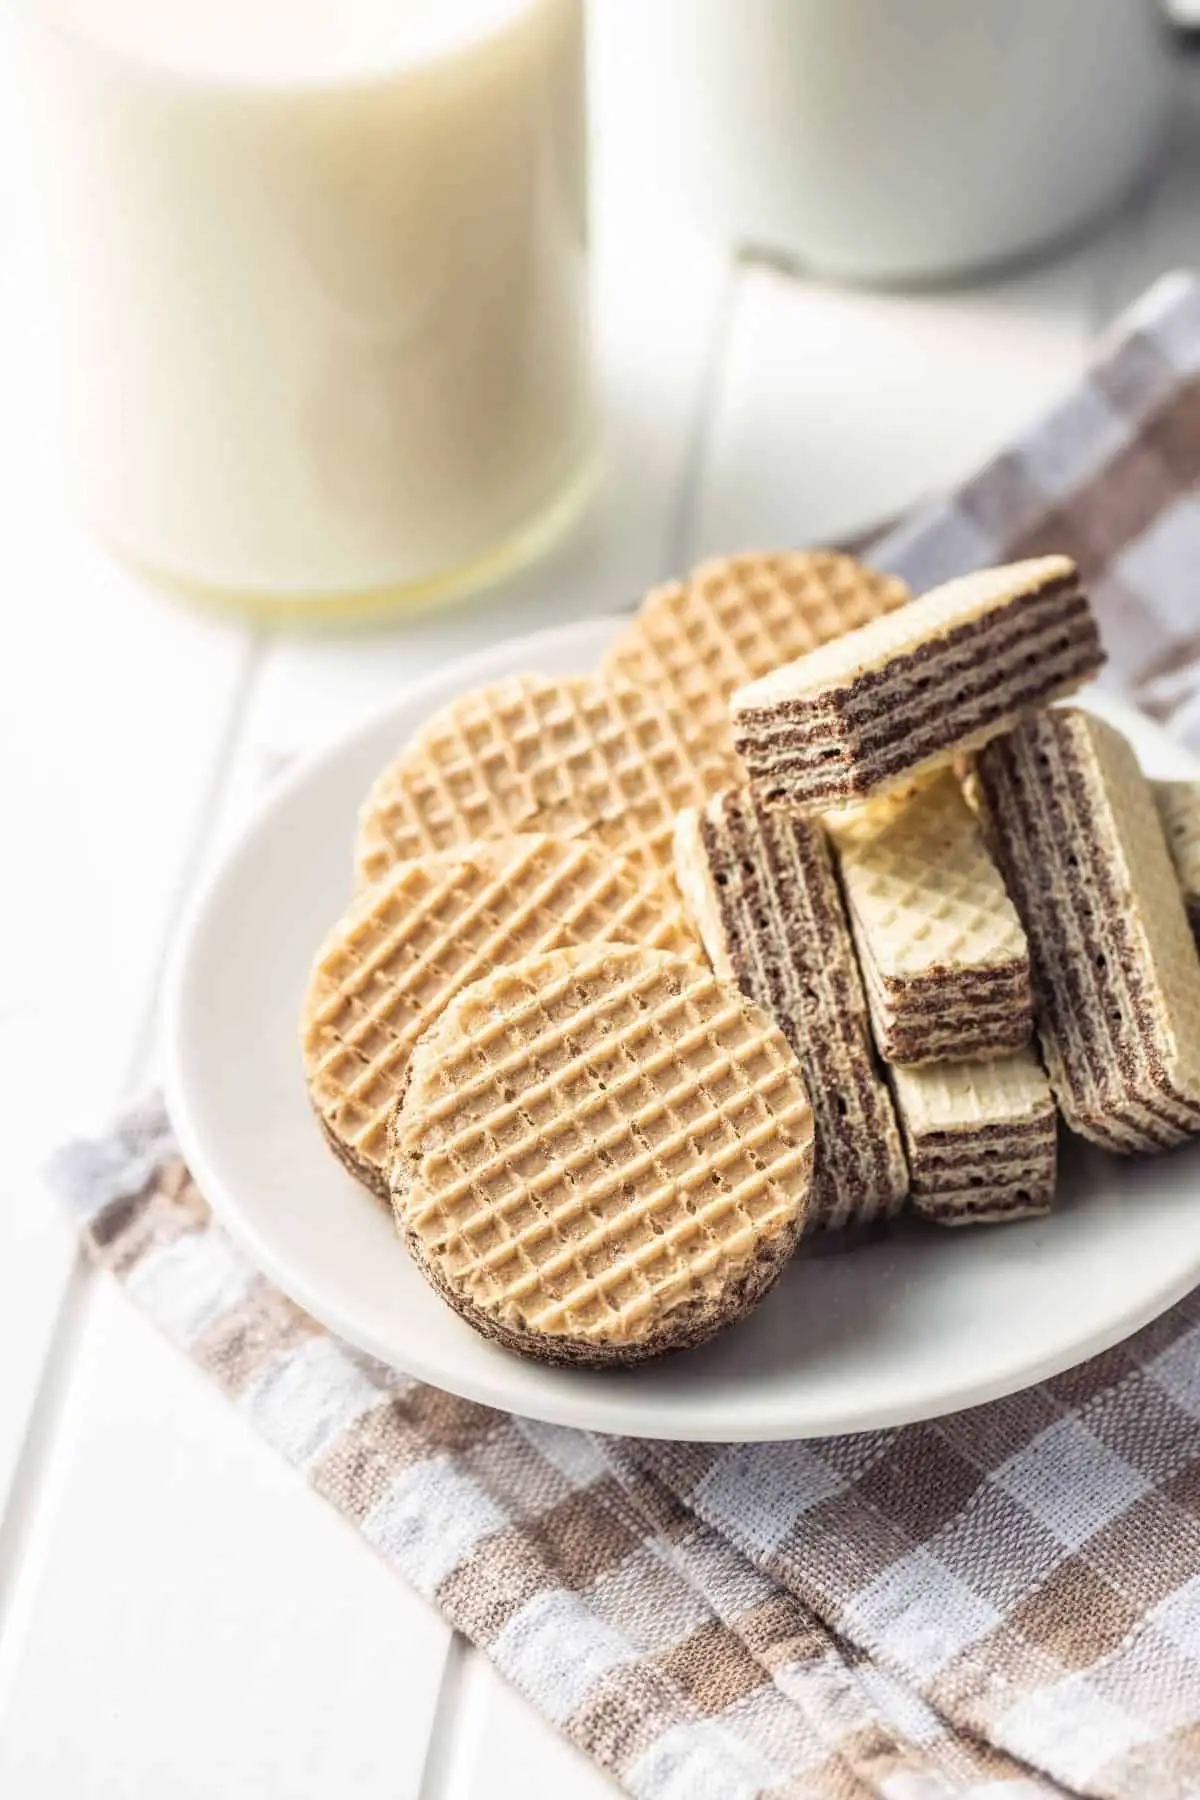
Making Sugar Wafers At Home
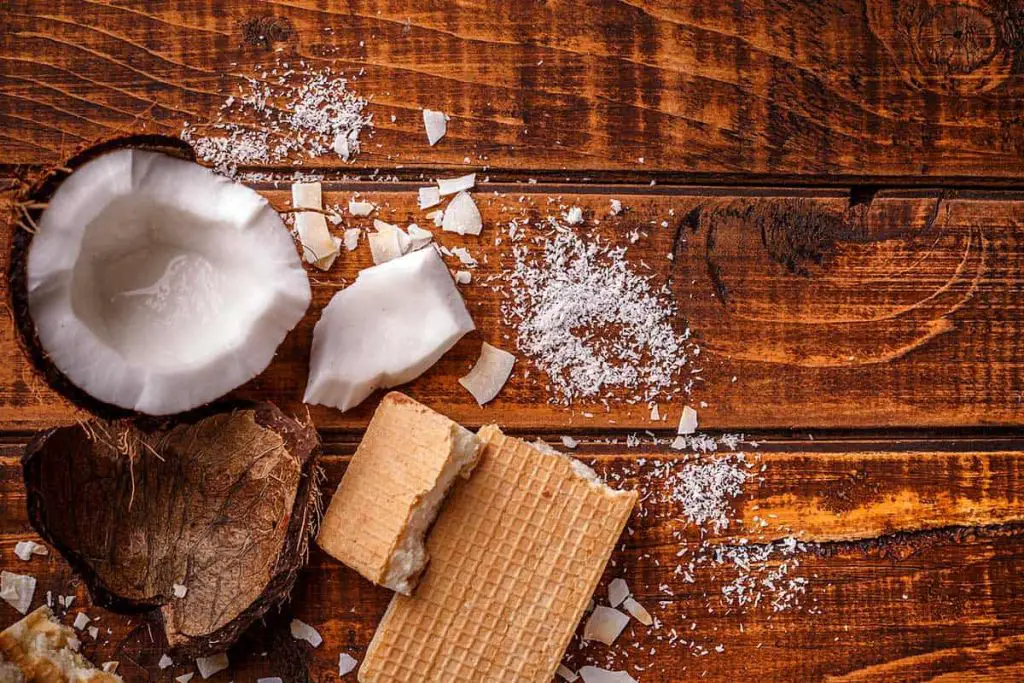
Am I the only one who misses sugar wafers? I’ve had them so much as a kid, but I can’t seem to find any that tastes so much like I remember it would.
The next best thing would always be to make one at home. Problem is, I haven’t really tried it before. So I asked my home baker friends for their recipes if they have any, and luckily one has a recipe passed on to her by her aunt.
How to make sugar wafers isn’t really as complicated as I thought it would be. The ingredients are something you would usually find in your kitchen if you bake often like me. If not, then a quick run to the grocery store is all you need.
You basically just need some butter, sugar, eggs, vanilla extract, baking powder, flour, and milk. That’s it, nothing fancy.
The first time I made this, I just made some flat wafers because I didn’t have anything to work it with to get the wafer-y look I would’ve wanted. I was just practicing on it to achieve the taste and it was just for home consumption. No pressure for me there, HAHA!
Well, it turned out great. I made it multiple ways – with ice cream, with cream, and another one topped with sugar that I blowtorched for some beautiful crust.
That was years ago.
But a few months back, I was browsing Etsy and I saw some wafer cookie mold and I suddenly felt like doing some sugar wafers again. I quickly added a few pieces to my cart and then the waiting game began.
A week after, my order came and it was time to put the wafer mold to good use.
NOTE: If you don’t have wafer molds, you may use some silicon baking mats raised relief patterns for your wafer design. Otherwise, you may just bake them plain – it would taste the same, anyway.
There’s so much you can do with sugar wafers, but I’m thinking of cream sandwiches this time.
I know I had all the ingredients in the pantry, so no need for a grocery run. A short walk to the kitchen was all I needed.
Why I Love Homemade Sugar Wafers

What’s there not to love?
First of all, they are delicious. And making sugar wafers at home gives you the flexibility to pair it with whatever you like.
Store-bought sugar wafers are often limited in variety – often just chocolate, Neapolitan, vanilla, and strawberry.
But I’d like to explore more with shapes, patterns, and fillings.
Because wafers are neutral in flavor, it’s easy to pair it with so many other fillings. And if you make them at home, you can easily add in some flavor if you want.
The first time I made sugar wafers at home, my kids wanted an ice cream sandwich while I wanted some cream filling. We all got what we wanted.
You can also easily pair it with caramel, chocolate sauce, and even peanut butter. One time I had this crazy idea to have it with cheese and it wasn’t bad at all!
You can make it in sheets or cut them in shapes before baking them. There’s just so much you can do with sugar wafers and it’s easy to store for later.
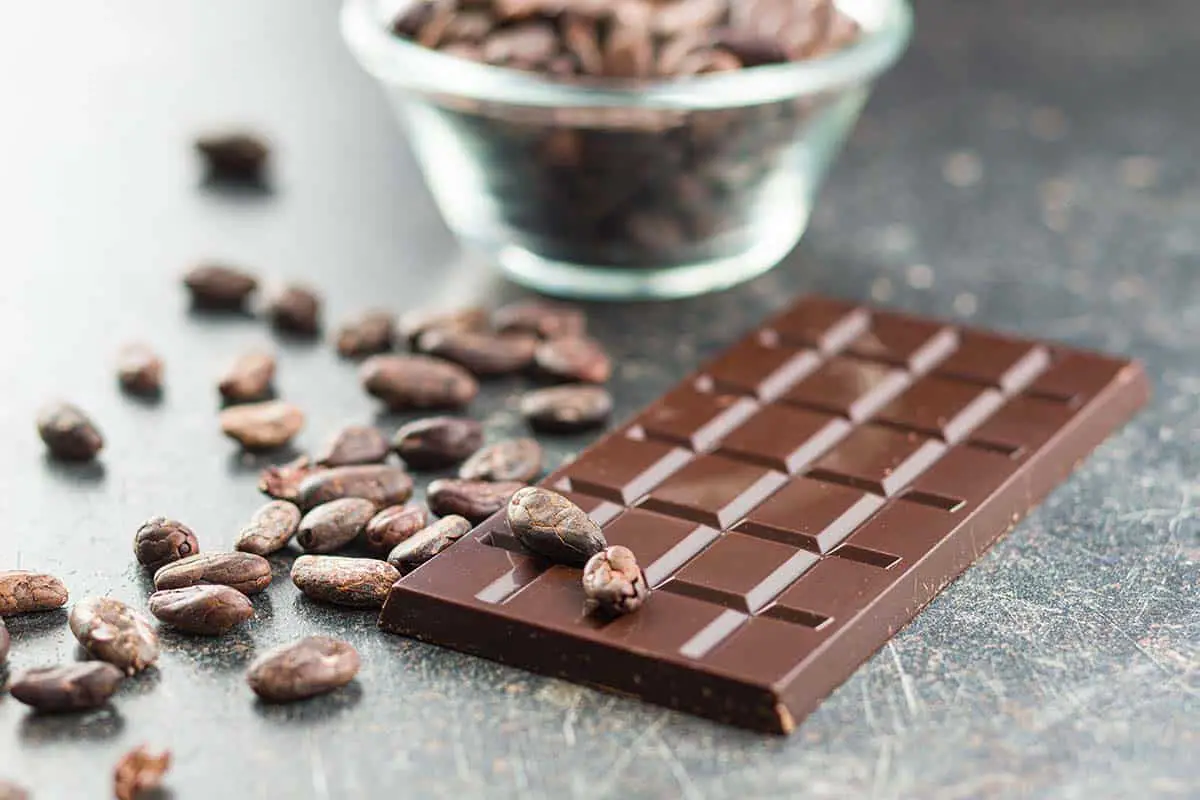
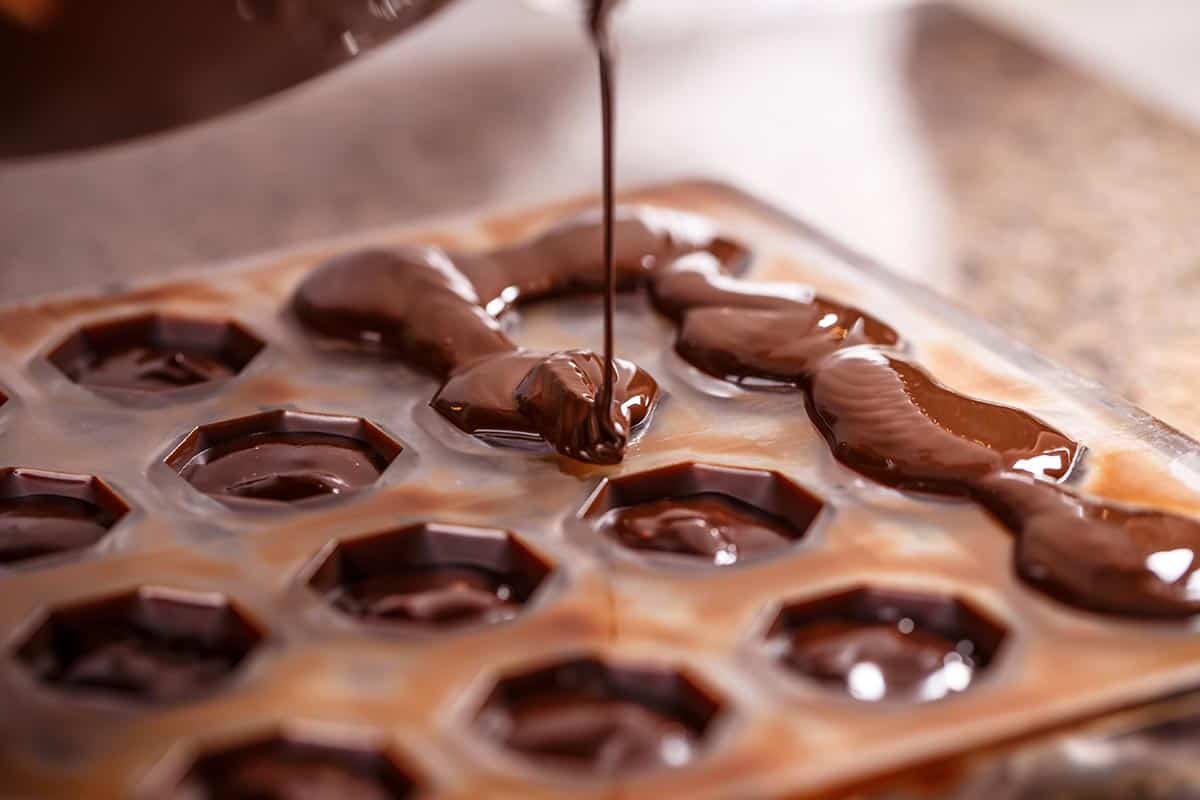
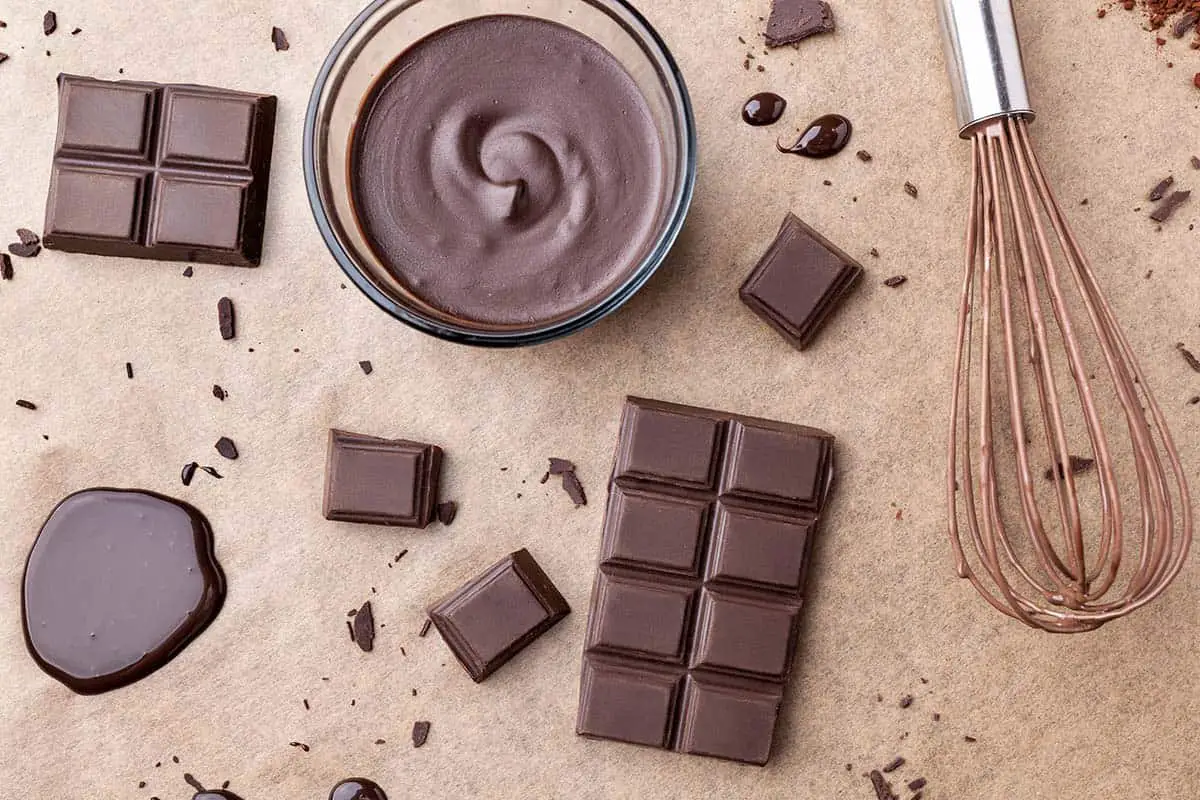
There’s just so much to love about homemade sugar wafers. If you’re craving chocolate though right now, why not check out how I like to make dark chocolate.

Additional Tips
- If you want to make chocolate wafer sheets, add in half a cup of cocoa powder.
- There are so many variations you can make out of this sugar wafers. Replace the creme filling with ice cream or any other filling you can think of.
- This may also serve as a garnish to other desserts such as ice cream sundae.
- Replace icing sugar with vanilla sugar to make vanilla wafers.

Sugar Wafer Recipe
- Total Time: 30 minutes
- Yield: 2–3 whole sheets 1x
Description
Am I the only one who misses sugar wafers? I had them a lot when I was a kid, but I can’t seem to find any that taste much like I remember. The next best thing is to make them at home using this sugar wafer recipe.
Ingredients
For the sugar wafers:
- 1 cup butter
- 1 ½ cups sugar
- 2 eggs
- 3 teaspoons vanilla extract
- 3 cups all-purpose flour
- 2 teaspoons baking powder
For the creme filling:
- ¼ cup soft butter
- ¾ cup icing sugar
- 1 egg yolk
- 1 teaspoon vanilla extract
- Optional: food coloring
Other things you’ll need:
- Electric mixer
- Rolling pin
- Optional: Silicon wafer molds or silicon baking mats with raised relief patterns
- Baking sheet
- Cooking spray
Instructions
- In a mixer, cream the butter and sugar together over medium speed.
- Once the butter and sugar are thoroughly creamed, add in the eggs and vanilla extract. Mix until well combined.
- In a separate mixing bowl, sift the flour and baking powder.
- Gradually add the dry ingredients to the creamed mixture in 3 batches. Mix well after each batch is added.
- Add in the milk and mix until well combined.
- Chill the dough in the fridge for at least 4 hours. If done in advance, you may also leave it to chill overnight.
- Dust some flour over the countertop and roll out the dough using a rolling pin. The colder the dough, the tougher it will become, so the manual effort will depend at this point.
- Flatten the dough to about ⅛ inches thin. If the dough is beginning to tear, it means it’s too thin. Work it again to thicken it up a bit.
- If you have a wafer mold or a silicon baking mats with raised relief patterns, gently place it on top of the rolled-out dough and gently press to create the patterns. Do not overdo it to avoid ripping the dough. If you have no mats for patterns, proceed to step 10 or cut your dough into any shape you like.
- Grease the baking sheet with cooking spray and gently place the dough on it.
- While you preheat the oven to 400 degrees Fahrenheit, quickly stick the baking sheet with the doughs inside the fridge to chill for a bit.
- Once the oven is already hot, bake the wafers for 6 to 8 minutes.
- Remove the baking sheet from the oven and let it cool for at least 3 minutes.
- Remove the sugar wafers from the baking sheet and let them cool completely on a cooling rack.
- While the sugar wafers are cooling, make the creme filling. In a mixing bowl, combine the butter, icing sugar, egg yolk, vanilla, and food coloring. Mix together until well combined.
- Dab the creme filling on the first layer and spread evenly, top it with the second layer of the wafer sheet, and spread more cream before you cover it with the top layer.
- If you made sugar wafer sheets, you can cut the wafers any size or shape you want.
- Serve and enjoy!


- Prep Time: 10 minutes
- Cook Time: 20 minutes
- Category: Candy

Hi! Any advice to making the strawberry flavored ones? Those are my absolute favorite, but like you, I can’t find any that taste as good as they used to. :/
I may be able to help with that. I made strawberry shortbread recently that used ground up freeze-dried strawberries. Maybe you could try that method?
You say to add milk to the wafer dough, how much milk? Also, do you know if this dough will run in the oven? I am trying to make a dome-shaped hollow wafer half-spheres and I wanted to know if I molded the dough would it just run and not work as planned. Thank You, no one else has recipes like this.
What milk?… Step 5 is confusing considering no milk are in the ingredients.
milk how much?