This post may contain affiliate links. Please read my disclosure policy.
Hey there! So here’s another caramel recipe again. LOL.
If you’ve followed all my other recipes, this is the nth time you’re seeing a caramel recipe on my page. Because why not? I’ve loved caramel since childhood and there’s no way I’m stopping now.
If you haven’t seen my other posts about caramel, you might want to check them out. These are perfect for the upcoming holidays and are all easy to make. You’ll find recipes for caramel apples, brown sugar caramel, caramel without butter or cream, stovetop caramel popcorn, and chocolate-covered caramel balls.
I can always relate caramel with Thanksgiving and Christmas probably because of its lovely color but it’s an any-day treat really. All ingredients are easy to find and could already be in your pantry. You don’t have to wait for a particular season to make it and enjoy its goodness.
So after all the homemade caramel recipes I posted, here’s an addition to the growing list: how to make caramel with evaporated milk.
To some, this might be unheard of because we usually use condensed milk or heavy cream for caramel. But it’s possible to use evaporated milk instead and pairing it with brown instead of granulated sugar can make it foolproof.
I used to be so intimidated by making caramel on my own even though I grew up watching my grandma ace it all the time. But when she started to let me help after watching her several times that’s when I started exploring caramels comfortably.
I’ve failed caramel several times before and I already know how to play with it well. So trust me on this one, this is something you’ll enjoy as much as I do.
What Is Caramel Sauce Made Of?
Traditional caramel is made of granulated sugar that is caramelized at a certain temperature. You add in the butter, heavy cream, and vanilla extract at the right timing to get its full flavor.
However, while the ingredients are easy to find, they are easy to mess up as well. This goes most especially for the granulated sugar. Most mistakes done in making caramel involves granulated sugar.
Why? Because we’re talking about white sugar here and we need to caramelize it to get the color we need. There’s a thin line between getting the right color and burning it and it only takes a few seconds to mess it up. Once it’s burned, there’s no turning back.
A Twist on the Traditional
I’ve messed up caramel several times before. But as I’ve said, I’m already comfortable working with it so I know now what works best for me and what doesn’t.
I’ve learned that using brown sugar instead of white or granulated is easier and faster. It’s because it already has a brown color, you can just melt it and not worry about achieving the color you need. It gives you a richer flavor while cutting the time you need to prepare it!
In this regard, you won’t mess it up like you could when using granulated sugar. It’s foolproof and time-saving at the same time.
But why evaporated milk? Because it incorporates into the brown sugar more easily so it saves you more time and effort.
However, I’m not dismissing granulated sugar and heavy cream in caramel altogether. If you’ve been following me, you know I’m all about trying new things and giving recipes a twist without messing with the classic. This recipe is just about giving you alternatives so you can choose what would be easier for you or when you have limited ingredients available.
Important Reminders in Making the Best Caramel
This caramel recipe is foolproof but here are a few reminders that will help you achieve the best results.
- Make use of a tall heavy-bottomed pot. Even when you’re using brown sugar, it needs to cook evenly. Using a tall heavy-bottomed pot also helps keep the sugar from burning.
Another reason you need a tall pot is that caramel tends to rise as it bubbles rapidly. A tall pot keeps all the mixture inside and prevents it from running through the sides. - Don’t be intimidated by the bubbles. The mixture will bubble a lot once you add in the milk (or cream) to the melted sugar. Don’t be intimidated as it’s a natural reaction.
- It’s normal to have lumps. The sugar may turn back to lumps when the milk (or cream) is added. It’s another natural reaction so it doesn’t mean you messed the mixture up. The sugar lumps will dissolve again if you just continue the process.
- The mixture needs full attention. Don’t multitask because a few seconds away from it can lead to disaster. The mixture can curdle if not given adequate attention.
- Don’t replace brown sugar. This recipe is intended for brown sugar. Don’t replace it with white sugar because you’ll need different proportions of the other ingredients if so.
- Don’t crank up the heat too high. One way of messing this recipe up is by cooking it over high heat. If you think it will help you speed the process up, it won’t. It will burn the whole thing so it’s better to lower the heat even though it will take you longer.
- Be mindful of consistency. The caramel will look thick while still cooking but it will become thin again once you remove it from the heat. You don’t have to return it to the stove. It will become thick again once it’s cooled down and will become thicker when refrigerated.
If you want a thinner caramel sauce, add more evaporated milk and cook for a lesser time than usual. This also means that if you want a thicker sauce, you can add more milk and boil the mixture a little bit longer. - Don’t double the recipe. This recipe should be made as-is. Doubling or tripling the ingredients might keep the brown sugar from melting evenly. Therefore, if you want more caramel, make it in batches.
Can I Still Revive Grainy Caramel Sauce?
Having a grainy texture is one of the most common issues when working with brown sugar. It could either be because the sugar has not been fully dissolved or the crystalized sugar at the sides of the pan has incorporated into the caramel when it boils. But don’t worry because there are several ways to fix that.
- Brush the sides of the pan with water after the butter is melted. This will help dissolve the crystals and prevent them from making the mixture grainy.
- Grease the pot with a little bit of vegetable oil prior to using it. It’s the easiest way you can prevent the sugar from sticking to the sides of the pot.
- You can simply stir the mixture constantly, scraping the sides to prevent crystals from forming.
- You can also cook the mixture on low heat to dissolve all the lumps.
- If you’re not avoiding corn syrup, add a tablespoon or two to the mixture to minimize crystal formation.
- Adding ⅛ teaspoon lemon juice, cream of tartar or vinegar also helps. The acid from these ingredients break up the sucrose and prevent the crystals from forming.
Additional Notes:
- Reheat the caramel sauce in the microwave for 30 to 60 seconds. Stir every 30 seconds and repeat as needed.
- If the caramel has become too thick after refrigeration, add a little bit of milk.
- Transform your caramel sauce into salted caramel by adding ⅛ teaspoon of regular salt or ½ teaspoon sea salt to the recipe.
- Frozen caramel must be thawed in the fridge overnight prior to consumption.
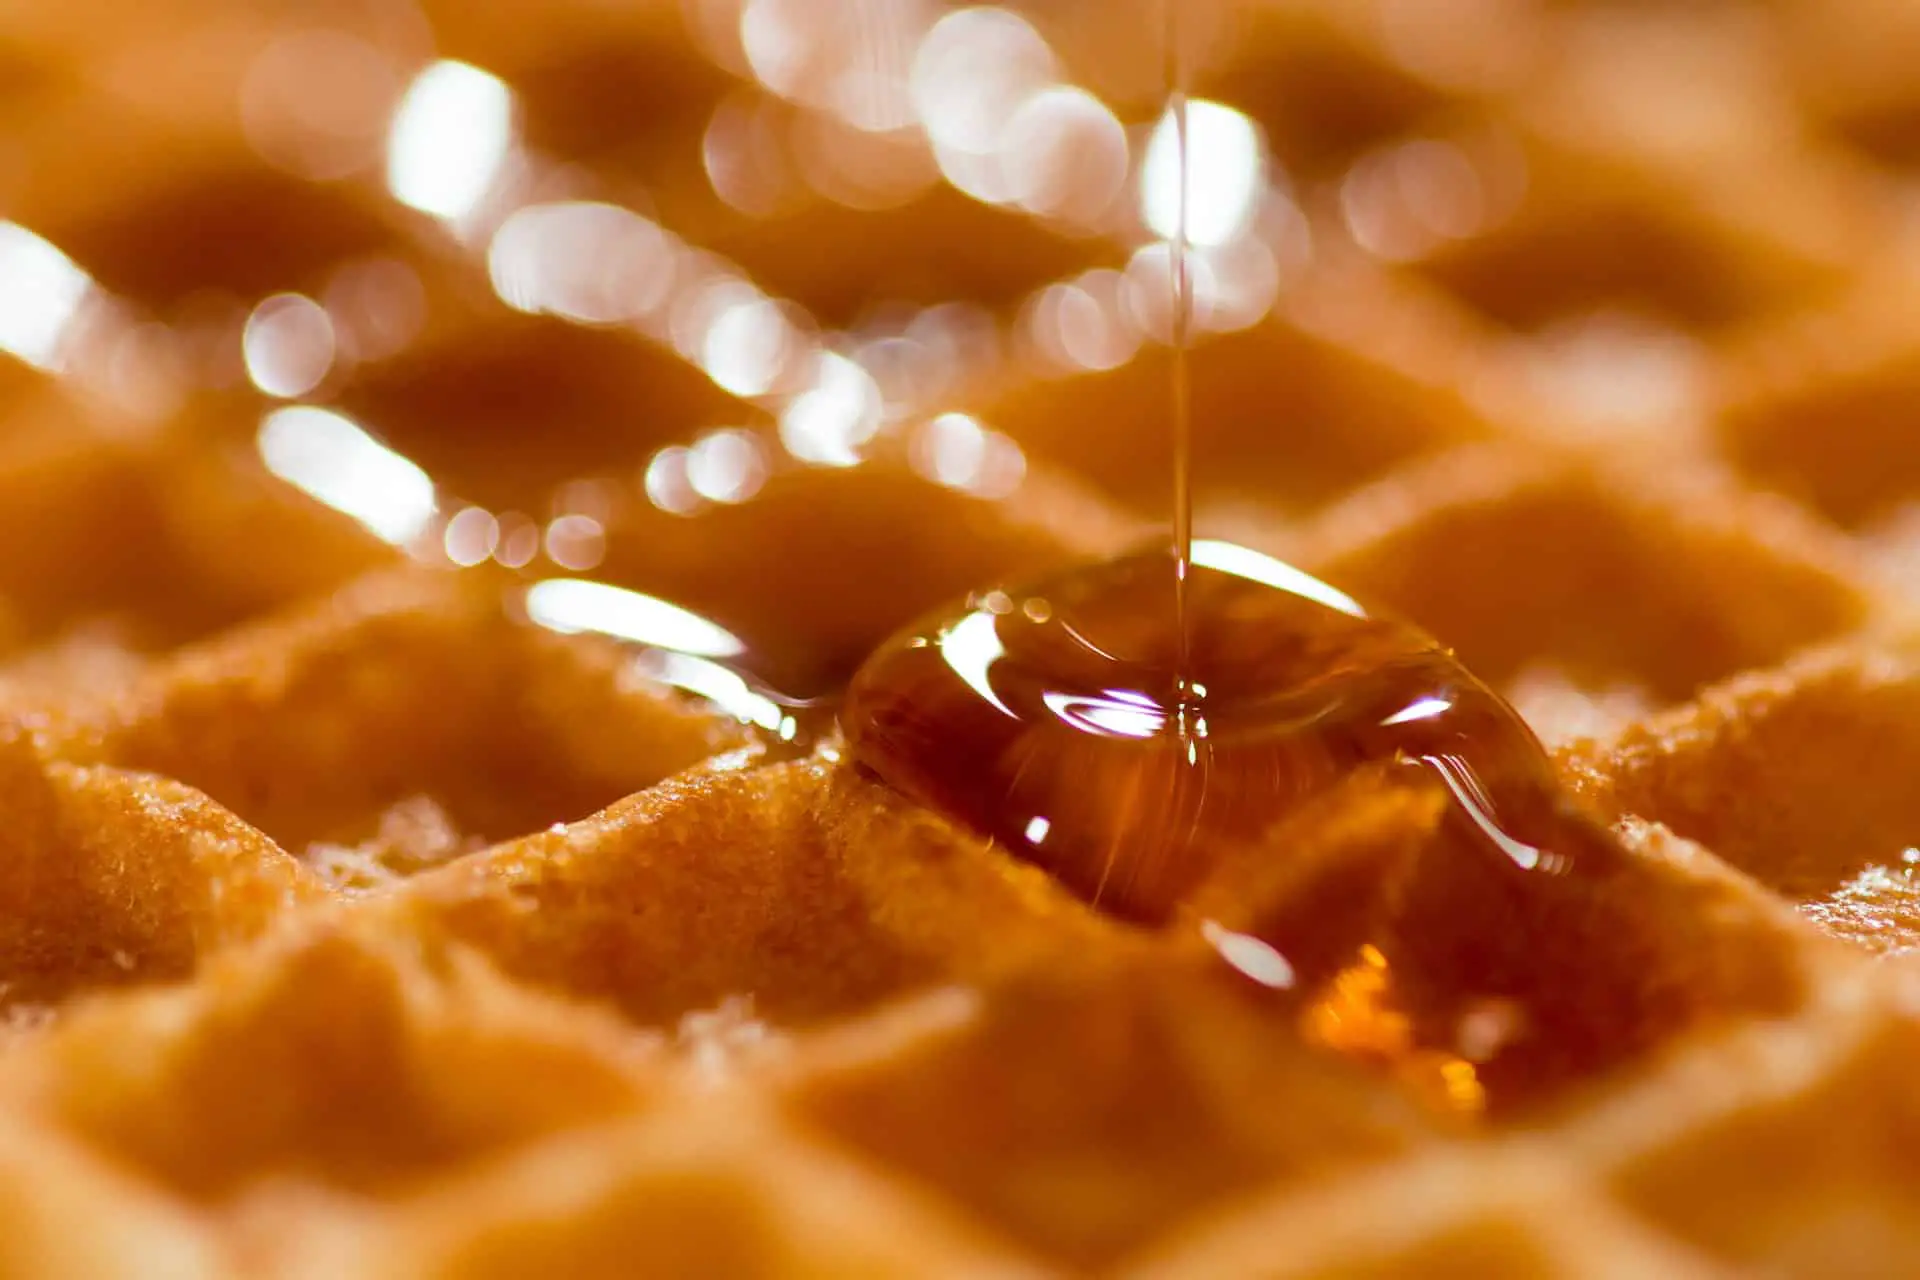
- You can use this caramel sauce for cakes, cookies, brownies, pies, popcorn, bread, pudding, waffles, toast, pancakes, fruits, cinnamon rolls, ice cream, chocolate drinks, coffee, and many more.
- Make caramel syrup using this recipe by adding more milk until you reach a runny consistency. This is perfect for drinks whether hot or cold.
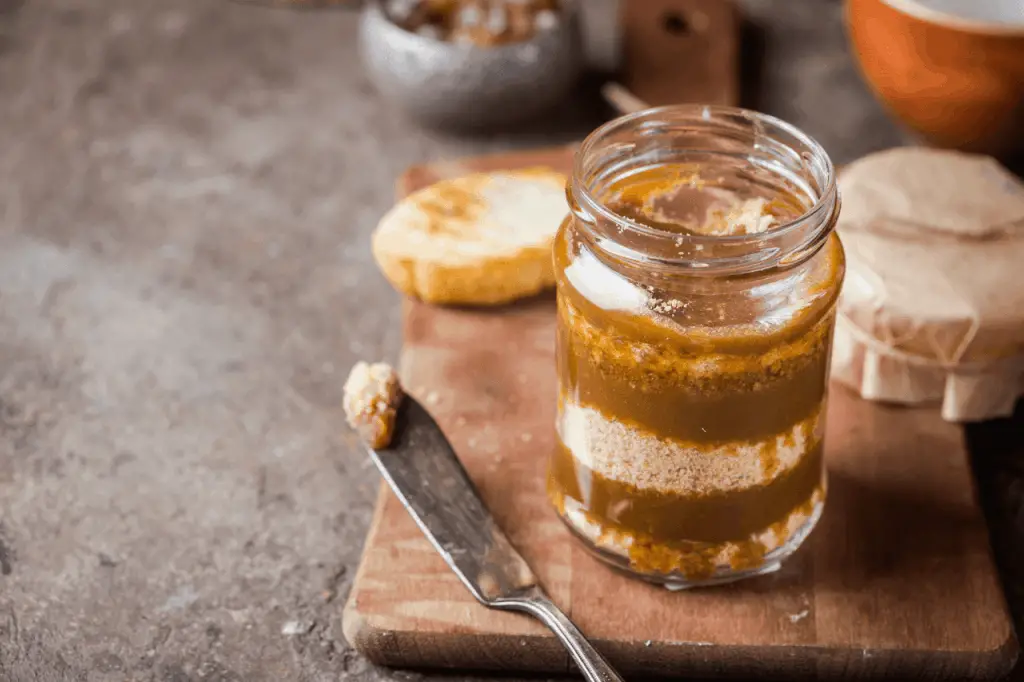
- Make more batches and prepare them as gifts. Store in small bottles and tie some ribbon for a more festive presentation.
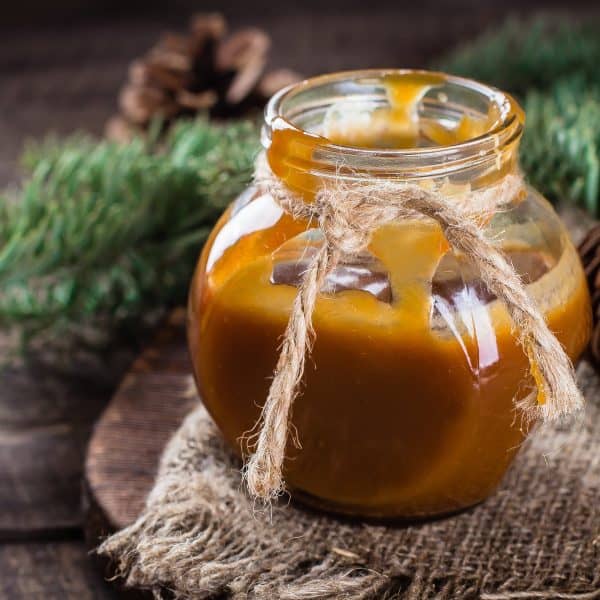
Caramel Sauce with Evaporated Milk Recipe
- Total Time: 10 Minutes Max
- Yield: 4.5 Cups 1x
Description
Easy, foolproof caramel recipe using evaporated milk that you can cook in less than 10 minutes.
Ingredients
- ¾ cup unsalted butter
- 1 ½ cups light brown sugar, packed
- 2 tablespoons water
- ¼ teaspoon salt
- ½ cup evaporated milk + more if you prefer a thicker sauce
- 1 tablespoon vanilla extract
Kitchen tools you’ll need:
- Heavy-bottomed pan
- Vegetable oil for greasing
- Silicone spatula
- Jar
Instructions
- Prepare the jar and all the ingredients before cooking. Keep them within easy reach.
- Grease the pot with a little bit of vegetable oil.
- Place butter, brown sugar, water, and salt in the pot. Boil over medium-low heat and stir until the butter has melted.
- Bring to a boil then reduce the heat. Let it simmer vigorously and stir constantly using a silicone spatula. This should take about 5 to 7 minutes depending on the consistency you want. Scrape the sides to prevent crystals from forming.
- Remove from the heat and let it cool for a bit. If the consistency is too thin for you, simmer it again over low heat.
- Mix the milk and vanilla separately before adding them to the mixture so you can add them at once.
- Remove from the heat again and stir in the evaporated milk and vanilla mixture. This is the part where you expect the mixture to bubble like crazy. Stir constantly until well combined.
- Add more milk if you haven’t achieved your desired consistency.
- Store it in a jar and cool down before serving. Refrigerate for up to 3 weeks or freeze for up to 3 months in a plastic airtight container.


- Prep Time: 3 Minutes
- Cook Time: 5 to 7 Minutes
- Category: Candy