This post may contain affiliate links. Please read my disclosure policy.
Oreo Mousse Pie Recipe
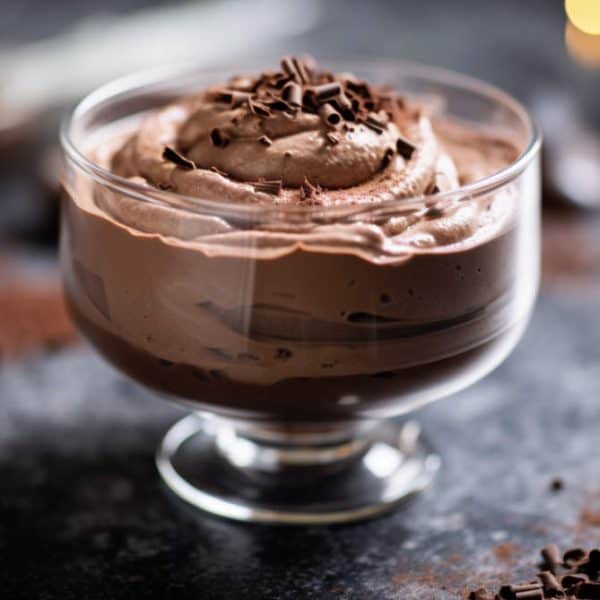
Are you ready to indulge in a heavenly dessert? Look no further than our irresistible Oreo Mousse Pie recipe! This delectable treat combines the rich flavors of Oreo cookies with a velvety mousse filling, creating a dessert that is sure to impress. Whether you’re hosting a dinner party or simply craving something sweet, this easy-to-make pie will satisfy your taste buds and leave you wanting more. Get ready to dive into chocolatey bliss with our Oreo Mousse Pie recipe!
How to make a delicious Oreo mousse pie with a chocolate mousse filling and Oreo crust
To make a delicious Oreo mousse pie with a chocolate mousse filling and Oreo crust, start by crushing Oreo cookies into fine crumbs. Mix the crumbs with melted butter and press the mixture into a pie dish to form the crust. Refrigerate the crust while preparing the chocolate mousse filling. In a saucepan, heat heavy cream until it starts to simmer. Remove from heat and pour over chopped chocolate, stirring until smooth and creamy. Allow the chocolate mixture to cool slightly. In a separate bowl, whip cold heavy cream until stiff peaks form. Gently fold the whipped cream into the chocolate mixture until well combined. Pour the chocolate mousse filling into the prepared Oreo crust and smooth the top. Refrigerate the pie for at least 4 hours or until set. Serve chilled and enjoy the rich and creamy Oreo mousse pie.
Key ingredients required for making a no-bake chocolate mousse pie with an Oreo crust?
The ingredients required for making a no-bake chocolate mousse pie with an Oreo crust include Oreo cookies, melted butter, heavy cream, chopped chocolate, and optionally, sugar and vanilla extract for added sweetness and flavor. These simple ingredients come together to create a decadent and indulgent dessert that is sure to satisfy any chocolate lover’s cravings.
What is the secret to achieving a perfect texture for the chocolate mousse in an Oreo mousse pie?
The secret to achieving a perfect texture for the chocolate mousse in an Oreo mousse pie lies in the proper combination of ingredients and the technique used to incorporate them. It is crucial to melt the chocolate and cream together until smooth and creamy, ensuring there are no lumps or graininess. Cooling the chocolate mixture slightly before folding in the whipped cream helps to maintain a light and airy texture. Additionally, gently folding the whipped cream into the chocolate mixture rather than vigorously stirring helps to preserve the mousse’s delicate structure. These steps, along with proper chilling time, will result in a velvety and smooth chocolate mousse filling for the Oreo mousse pie.
Variations or additions that can be made to the classic recipe
The classic Oreo mousse pie recipe can be easily customized and enhanced with various additions and variations. Here are a few ideas
1. Mint Chocolate Oreo Mousse Pie
Add a hint of mint extract to the chocolate mousse filling for a refreshing twist.
2. Peanut Butter Oreo Mousse Pie
Swirl in some creamy peanut butter into the chocolate mousse filling for a delightful combination of flavors.
3. Raspberry Oreo Mousse Pie
Layer fresh raspberries on top of the Oreo crust before pouring in the chocolate mousse filling for a burst of fruity goodness.
4. Salted Caramel Oreo Mousse Pie
Drizzle homemade salted caramel sauce over the top of the pie for a sweet and salty contrast.
5. Nutella Oreo Mousse Pie
Incorporate Nutella into the chocolate mousse filling for an extra dose of hazelnut goodness. These variations can add a unique twist to the classic Oreo mousse pie recipe and cater to different taste preferences.
How long does it take to prepare and set an Oreo mousse pie with a luscious chocolate mousse filling?
Preparing and setting an Oreo mousse pie with a luscious chocolate mousse filling typically takes around 4-6 hours. The crust can be prepared and chilled in about 30 minutes, while the chocolate mousse filling requires approximately 20-30 minutes of preparation time. After assembling the pie, it needs to be refrigerated for at least 4 hours or until the mousse is set. The chilling time allows the flavors to meld together and the mousse to firm up, resulting in a delectable and velvety texture. It is important to plan ahead and allow enough time for the pie to fully set before serving.
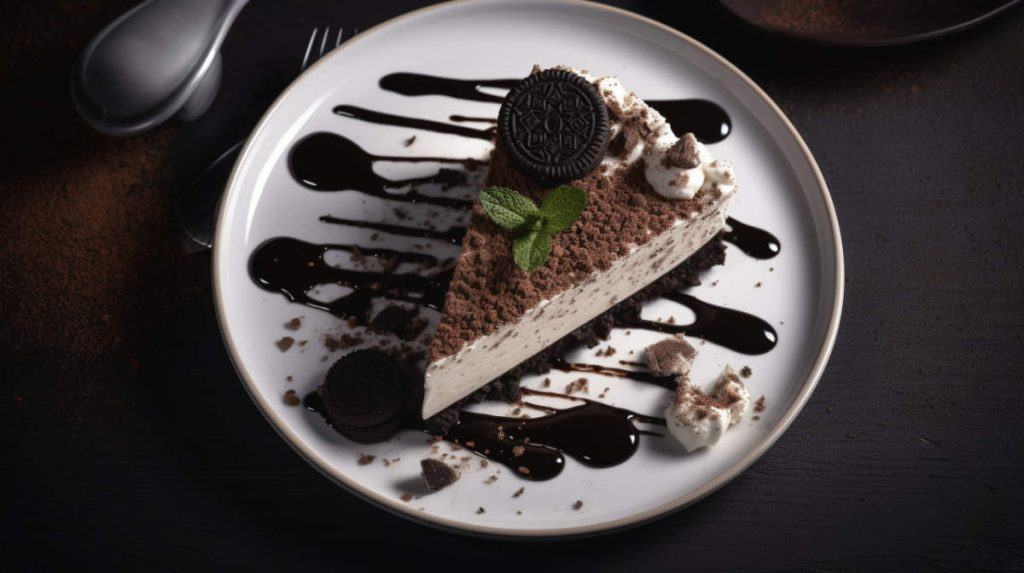
How to garnish your Oreo mousse pie to make it more visually appealing
1. Crush some additional Oreo cookies and sprinkle the crumbs over the top of the pie for a classic and simple decoration.
2. Pipe whipped cream around the edges of the pie using a piping bag and star-shaped tip for an elegant touch.
3. Garnish with chocolate shavings or curls for a sophisticated and indulgent look.
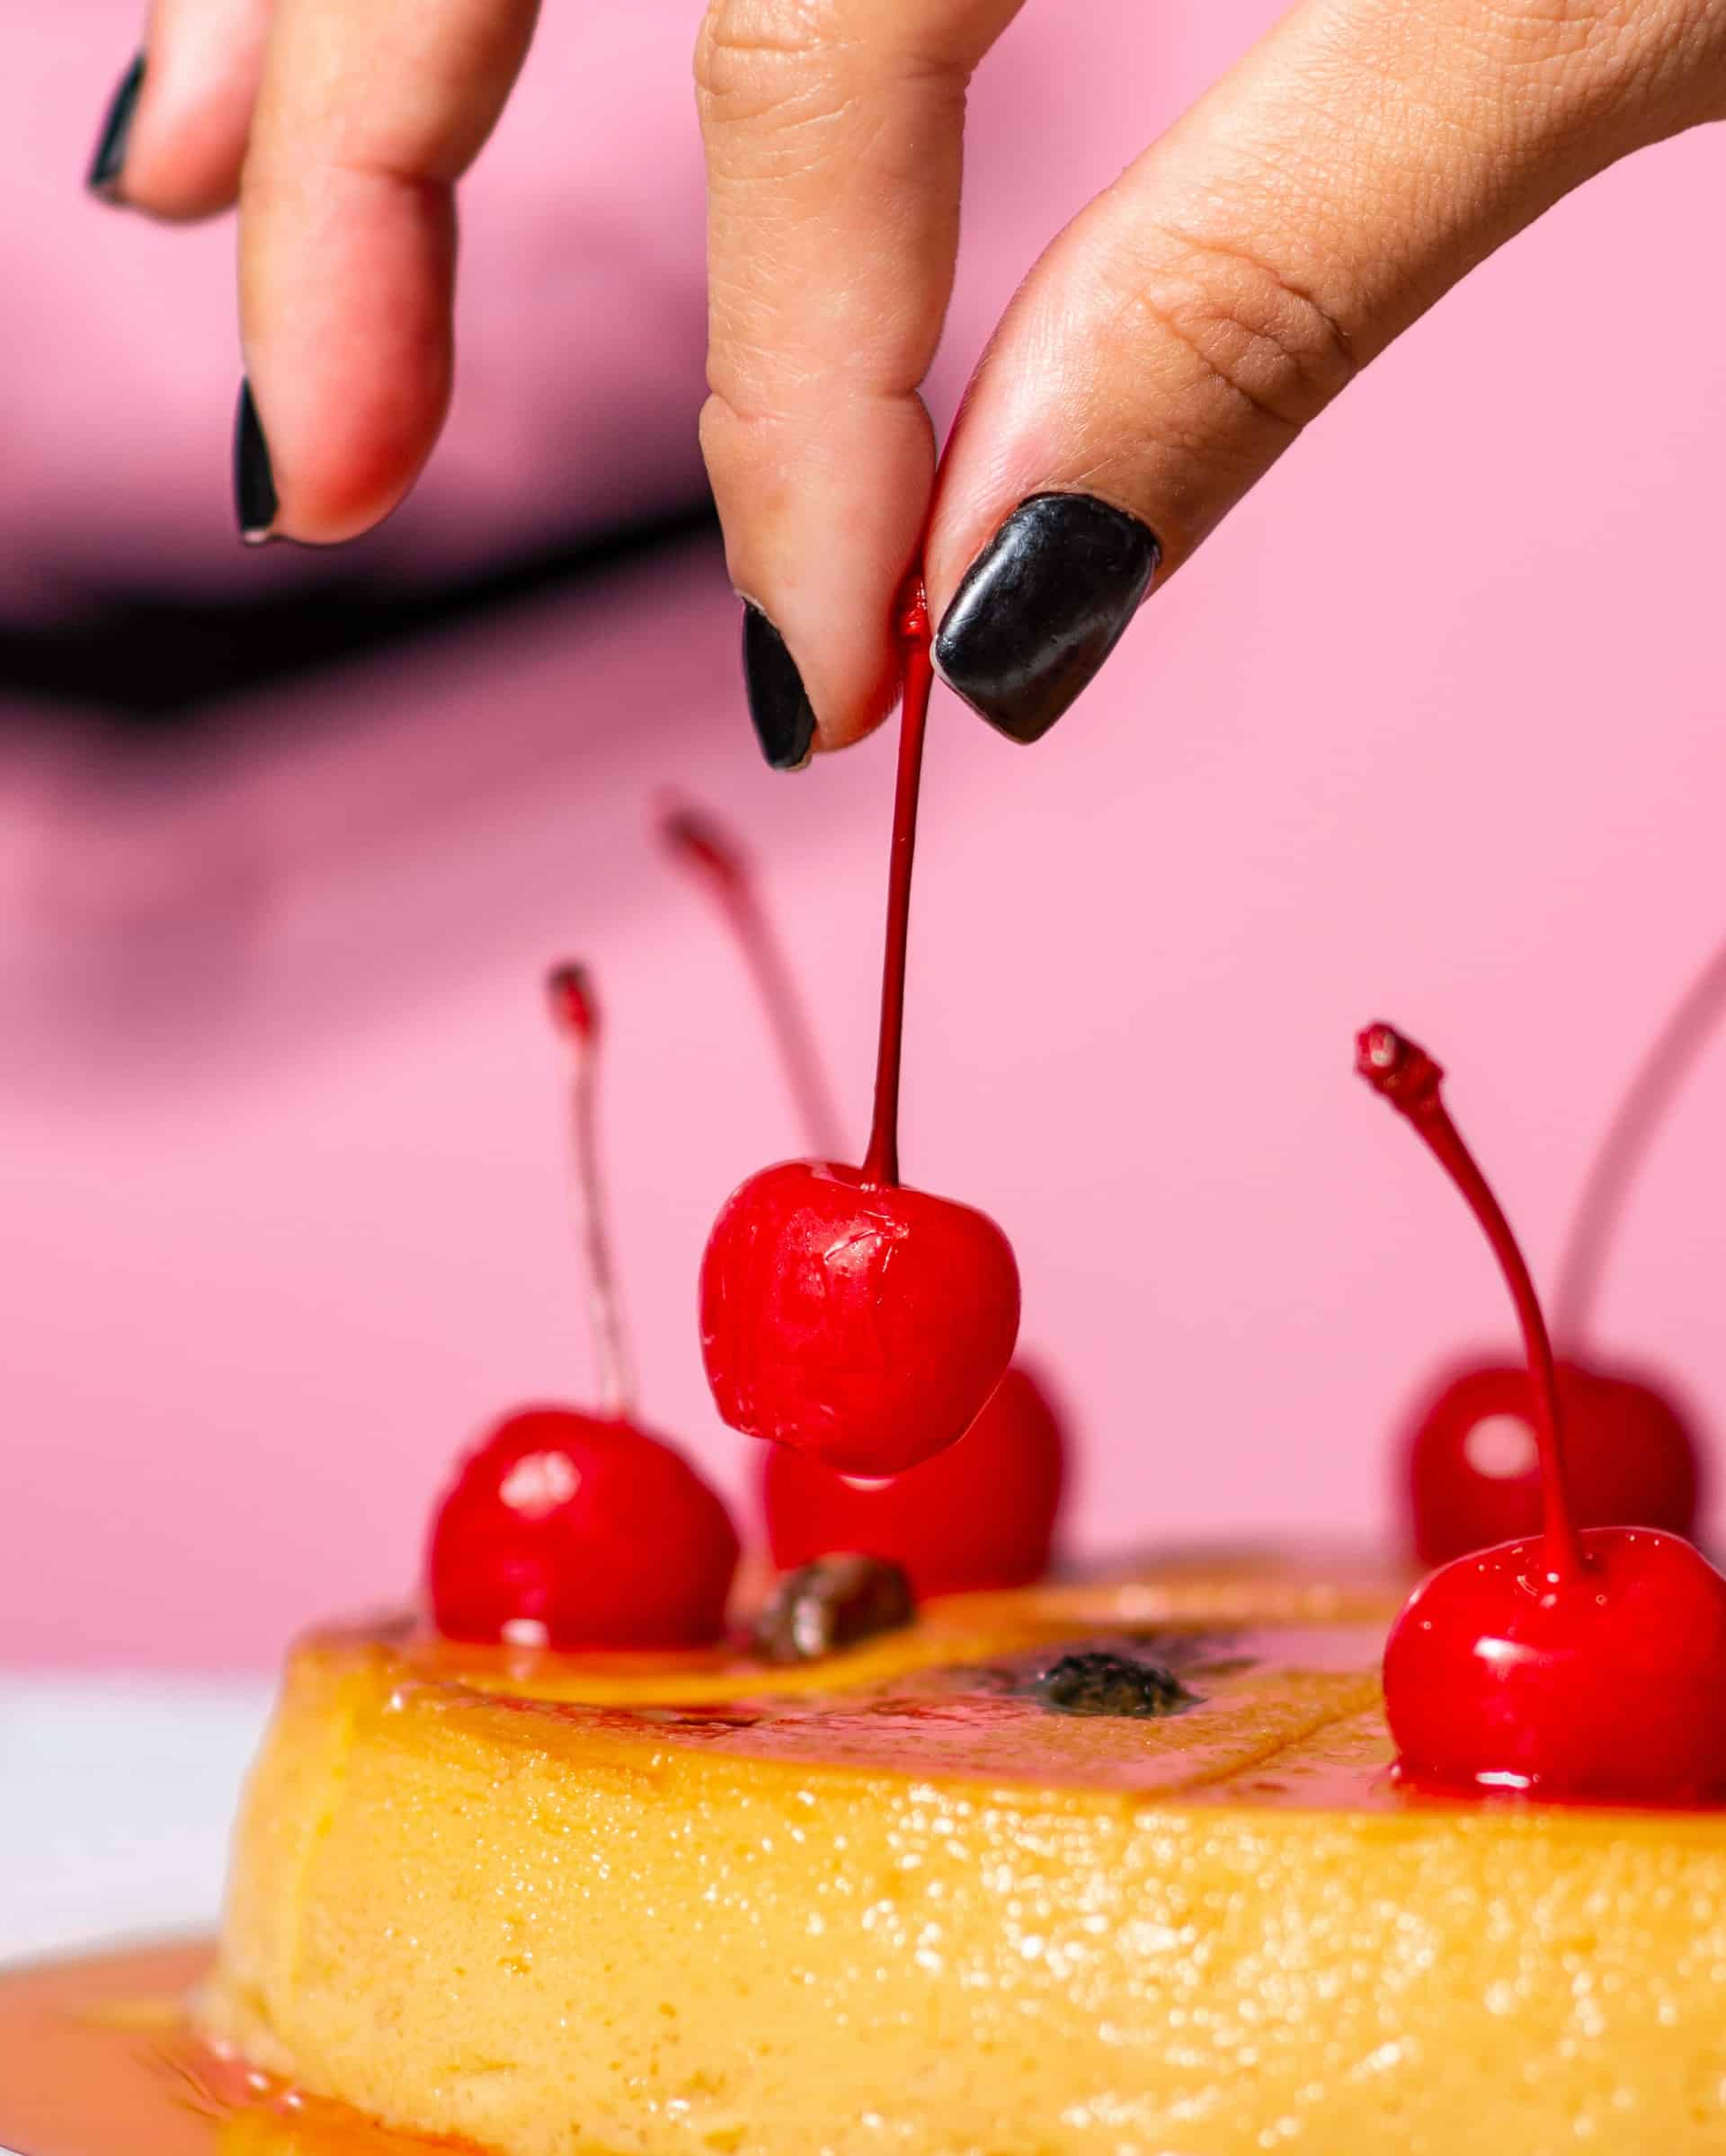
4. Arrange fresh berries, such as raspberries or strawberries, on top of the pie for a pop of color and freshness.
5. Drizzle chocolate sauce or caramel sauce over the pie in a decorative pattern for an artistic presentation.
Remember, the key is to be creative and have fun with the decorations. Let your imagination guide you in making a visually stunning Oreo mousse pie that will impress your guests.
Substituting ingredients
It is possible to substitute some ingredients in the Oreo mousse pie recipe without compromising the taste and texture, depending on dietary restrictions or personal preferences. Here are a few possible substitutions
1. Vegan Version
Use vegan Oreo cookies and substitute the heavy cream with coconut cream or a non-dairy whipped topping. Use dairy-free chocolate for the mousse filling.
2. Gluten-Free Version
Choose gluten-free Oreo cookies or use a gluten-free chocolate cookie alternative for the crust. Ensure that all other ingredients are gluten-free, including the chocolate used for the mousse filling.
3. Reduced Sugar Version
Use sugar-free or reduced sugar Oreo cookies and substitute the granulated sugar in the mousse filling with a sugar substitute or natural sweetener like stevia or maple syrup.
4. Flavor Variations
Experiment with different flavors of Oreo cookies, such as mint, peanut butter, or golden Oreos, to add a unique twist to the pie.
While substitutions can be made, it’s important to note that they may alter the taste and texture slightly. It’s always a good idea to taste and adjust the recipe as needed to ensure the desired outcome.
What is the best way to store an Oreo mousse pie to ensure it stays fresh and retains its flavor?
To ensure the Oreo mousse pie stays fresh and retains its flavor, it is best to store it in the refrigerator. Cover the pie dish tightly with plastic wrap or place it in an airtight container to prevent any odors from affecting the taste. Properly stored, the Oreo mousse pie can last for up to 3-4 days in the refrigerator. It is important to note that the longer the pie is stored, the softer the crust may become. For optimal freshness and texture, it is recommended to consume the pie within a couple of days.
Tools and equipment you will need
Making a chocolate mousse pie with an Oreo crust does not require any specialized tools or equipment. However, having the following items on hand can make the process easier and more efficient
1. Food processor or blender
To crush the Oreo cookies into fine crumbs for the crust.
2. Pie dish
A 9-inch pie dish is typically used for this recipe, but any similar-sized dish will work.
3. Saucepan
To heat the cream for the chocolate mousse filling.
4. Mixing bowls
For various steps, such as melting the chocolate, whipping the cream, and combining the mousse filling.
5. Whisk or spatula
To stir and combine the ingredients.
6. Electric mixer or whisk
To whip the cream until stiff peaks form.
7. Rolling pin (if not using a food processor)
To crush the Oreo cookies for the crust. These tools are commonly found in most kitchens and will help ensure a smooth and successful preparation of the Oreo mousse pie.
Conclusion
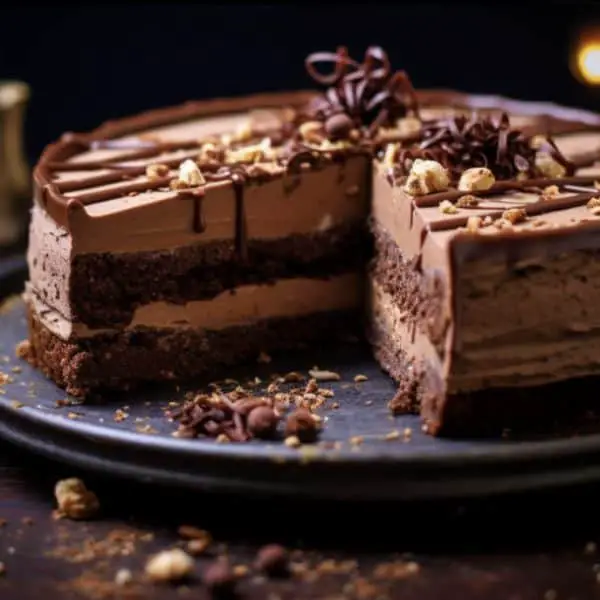
In conclusion, the Oreo Mousse Pie recipe offers a delicious and indulgent dessert option with its rich chocolate mousse filling and Oreo crust. This no-bake pie is easy to prepare and can be customized with various flavor variations. Whether enjoyed on its own or paired with complementary desserts and beverages, the Oreo Mousse Pie is sure to satisfy any chocolate lover’s cravings.
FAQs
###
Q: What is Oreo Mousse Pie?
A: Oreo Mousse Pie is a delicious dessert made with layers of creamy chocolate mousse and a crunchy Oreo crust.
Q: How do I make Oreo Mousse Pie?
A: To make Oreo Mousse Pie, you will need ingredients such as Oreo pie crust, chocolate chips, Oreo crumbs, and semi-sweet chocolate. You can find the detailed recipe below.
Q: Can I use a store-bought pie crust for this recipe?
A: Yes, you can use a store-bought pie crust if you prefer. However, making your own Oreo crust adds a delicious homemade touch to the pie.
Q: How do I make the Oreo crust?
A: To make the Oreo crust, you will need Oreo crumbs and melted butter. Mix the crumbs and melted butter until well combined, then press the mixture into a pie plate or pan.
Q: Do I need to bake the pie crust?
A: No, the crust for the Oreo Mousse Pie does not need to be baked. Simply press the crust mixture into the pie plate and chill it in the refrigerator while you prepare the filling.
Q: Can I make this pie without using a pie crust?
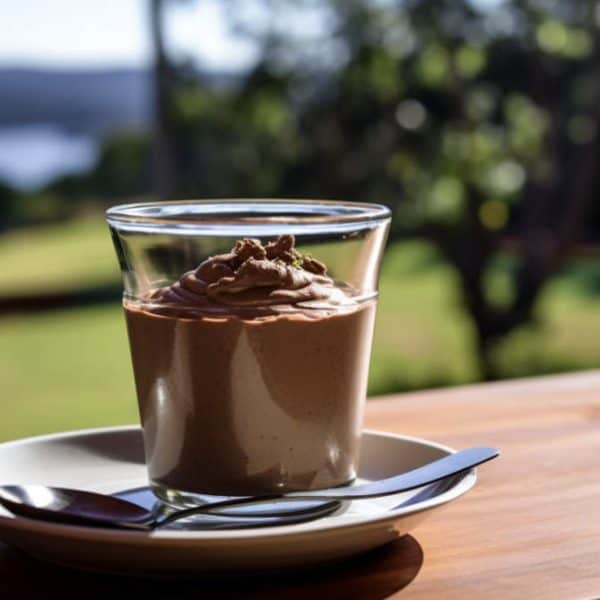
A: Yes, if you prefer, you can make the Oreo Mousse Pie without a pie crust. Simply layer the mousse mixture into individual serving dishes or cups for a crustless version.
Q: How long does it take to make Oreo Mousse Pie?
A: The total time to make Oreo Mousse Pie is approximately 3 hours, including chilling time. The actual hands-on preparation time is about 30 minutes.
Q: Can I make this recipe ahead of time?
A: Yes, Oreo Mousse Pie can be made ahead of time. Simply cover the pie with plastic wrap and store it in the refrigerator until ready to serve.
Q: Can I freeze Oreo Mousse Pie?
A: Yes, you can freeze Oreo Mousse Pie. Wrap the pie tightly in plastic wrap and place it in a freezer-safe container or bag. Thaw the pie in the refrigerator before serving.
Q: Can I substitute any ingredients in this recipe?
A: While it is always fun to experiment in the kitchen, I would recommend sticking to the recipe for the best results. However, you can customize the toppings or add extra Oreo crumbs if desired.
Dietary Considerations:
- Gluten-Free: While traditional Oreo cookies contain gluten, there are gluten-free Oreo alternatives available in the market. Ensure the chocolate and other ingredients are gluten-free as well.
- Dairy-Free: Replace the heavy cream with coconut cream and use a dairy-free dark chocolate. Use a dairy-free butter alternative for the crust. Note that traditional Oreo cookies contain dairy, so you’d need to find a dairy-free alternative or skip them.

Oreo Mousse Pie Recipe
- Total Time: 30 minutes
Ingredients
For the Crust:
- 24 Oreo cookies (with filling), finely crushed
- 5 tbsp unsalted butter, melted
For the Mousse Filling:
- 200g dark chocolate (at least 70% cocoa)
- 3 large eggs, separated
- 50g granulated sugar
- 1 tsp vanilla extract
- 200ml heavy cream
- A pinch of salt
For the Topping (optional):
- Whipped cream
- Crushed Oreo cookies
- Chocolate shavings or cocoa powder
Instructions
- Prepare the Crust: Preheat the oven to 350°F (175°C). In a bowl, combine the finely crushed Oreo cookies and melted butter. Press the mixture firmly into the bottom and up the sides of a 9-inch pie dish. Bake for 10 minutes, then allow to cool completely.
- Chocolate Preparation: In a heatproof bowl, melt the dark chocolate over a pot of simmering water. Ensure the bowl doesn’t touch the water. Once melted, remove from heat and let it cool slightly.
- Egg Yolks: In a separate bowl, whisk the egg yolks, sugar, and vanilla extract until the mixture becomes pale and slightly thickened.
- Combine: Gradually and gently fold the melted chocolate into the egg yolk mixture until well combined.
- Whip Cream: In another bowl, whip the heavy cream until soft peaks form.
- Egg Whites: In a clean, dry bowl, beat the egg whites with a pinch of salt until stiff peaks form.
- Fold: Gently fold the whipped cream into the chocolate mixture until just combined. Then, fold in the beaten egg whites until no white streaks remain.
- Fill and Chill: Pour the mousse filling into the cooled Oreo crust. Refrigerate for at least 4 hours, preferably overnight.
- Serve: Before serving, garnish with whipped cream, crushed Oreo cookies, and chocolate shavings or cocoa powder if desired.


Notes
- Ensure all your utensils are clean and dry when beating the egg whites to achieve stiff peaks.
- The pie is best served chilled and can be stored in the refrigerator for up to 3 days.
- Category: Dessert