This post may contain affiliate links. Please read my disclosure policy.
Layered Chocolate Mousse Recipe
Indulge in the ultimate chocolate dessert
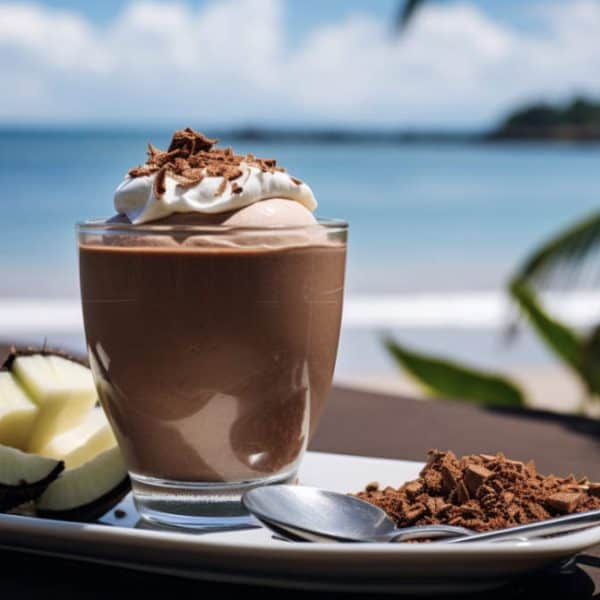
Indulge in the ultimate chocolate dessert and treat your taste buds with a decadent layered chocolate mousse. This delightful dessert is perfect for any occasion, whether it’s a fancy dinner party or a cozy night in. It’s not only visually stunning but also incredibly rich and creamy, making every bite pure bliss.
The secret to achieving the perfect layer of chocolate mousse lies in the balance between sweet and bitter flavors. By using high-quality dark chocolate, you can create a luxurious base that pairs perfectly with the lightness of whipped cream. Each layer adds complexity to the overall dessert, taking your taste buds on an indulgent journey from silky smooth milk chocolate to intense dark cocoa.
Taking your love for chocolate desserts to new heights, this layered mousse recipe allows you to experiment with different textures as well. Adding a crunchy element like crushed cookies or chopped nuts between each layer adds an unexpected surprise that elevates the whole experience. So go ahead and let yourself be swept away by this ultimate treat – you won’t regret it!
Key ingredients for this layered chocolate mousse recipe
Gather all the necessary ingredients to embark on a delightful culinary adventure with this layered triple chocolate mousse recipe. The key components of this decadent dessert include bittersweet chocolate, eggs, heavy cream, sugar, and vanilla extract. Don’t underestimate the significance of each ingredient as they all work in harmony to create a symphony of flavors and textures that will leave your taste buds tingling.
Starting with high-quality bittersweet chocolate is crucial to achieving a rich and smooth chocolatey base for your mousse. Look for chocolates with at least 70% cocoa content to ensure an intense chocolate flavor profile. Eggs are another essential ingredient that not only thickens the mousse but also adds a velvety richness. Be sure to use fresh eggs preferably at room temperature, as they will whip up better and incorporate more air into the mixture.
Heavy cream lends the mousse its signature lightness. Look for heavy cream with a minimum fat content of 35% for optimal results. The sugar adds sweetness and balances out the bitterness of dark chocolate while the vanilla extract enhances its aroma without overpowering it. By gathering these ingredients before you begin, you can set yourself up for sweet success when creating this layered chocolate mousse masterpiece!
Preparation: Overview of all the steps
Now that you have gathered all the necessary ingredients and equipment for making the layered chocolate mousse, it’s time to dive into the preparation process. This step-by-step guide will ensure that your mousse turns out smooth, rich, and full of chocolatey goodness.
Step 1: Start by melting the dark chocolate in a heatproof bowl over a pot of simmering water. Stir constantly until smooth and glossy. Remove from heat and let it cool slightly.
Step 2: While the melted chocolate is cooling, whip up some heavy cream in another bowl until soft peaks form. The creamy texture will complement the decadent chocolate perfectly.
Step 3: Gradually fold the whipped cream into the chocolate using a spatula. Be gentle yet thorough to maintain airiness and avoid deflating the mixture.
Step 4: Take two-thirds of this chocolate-cream mixture and divide it evenly among serving glasses or bowls. It’s an opportunity to get creative with different shapes or sizes for an elegant presentation.
Step 5: Time for another layer of richness! Melt some white chocolate using the same technique as before but be careful not to overheat or burn it. Allow it to cool briefly like you did with dark chocolate earlier.
Step 6: Fold in whipped cream again just as you did with dark chocolate but take care not to blend too vigorously so that you preserve its fluffy texture.
Stir everything together gently on low speed so as not to deflate any air pockets trapped inside
Assembly: Layering the mousse for an elegant presentation
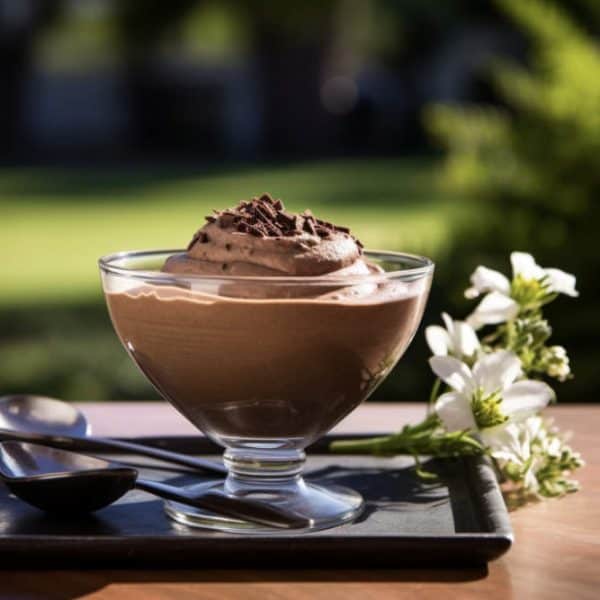
To create an elegant presentation for your layered chocolate mousse, proper assembly is key. While the taste is undeniably important, the visual appeal can elevate your dessert to new heights. Begin by selecting glass or clear serving dishes that allow the layers to shine through, creating a feast for the eyes before even taking a bite.
When layering the mousse, consider contrasting colors and textures to add visual interest. For example, alternate between dark and light chocolate mousses or incorporate a layer of crushed cookies or fresh berries in between. The contrast not only creates a visually appealing dessert but also enhances the overall flavor profile.
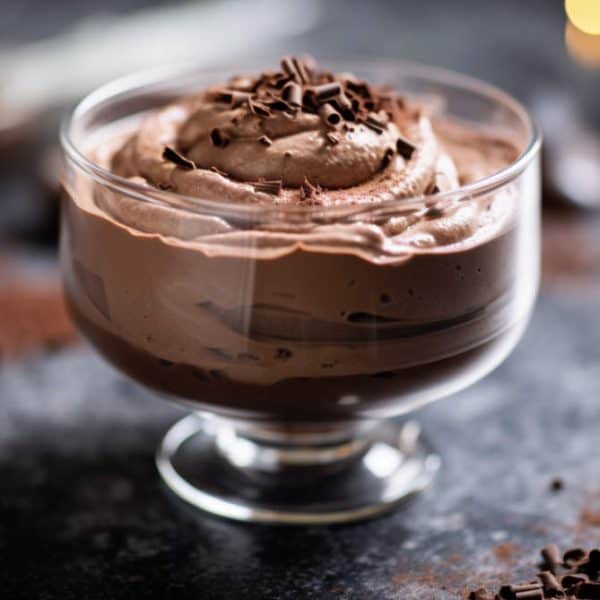
As you build each layer, take care to create clean lines by using a piping bag or spatula. This way, each element remains distinct and adds to the sophisticated presentation. Finish off with garnishes such as shaved chocolate curls, mint leaves, or edible flowers for an extra touch of elegance that will impress your guests.
In conclusion, perfecting the assembly process plays a crucial role in presenting an elegant layered chocolate mousse. From selecting appropriate serving dishes to incorporating contrasting colors and textures, every detail contributes to creating an exquisite dessert experience both visually and taste-wise. With careful attention and thoughtful execution of each step in assembling this delightful treat, you can achieve an exceptional presentation that will leave your guests eager for seconds.
Chilling and Setting: Allow time for the mousse to firm up
One of the most crucial steps in making a layered chocolate mousse is allowing enough time for the mousse to firm up. While it may be tempting to rush through this step, taking the time to chill each layer will greatly enhance the texture and overall presentation of your dessert. This important step brings all the layers together, creating a harmonious blend of flavors and ensuring that each bite is smooth and velvety.
Furthermore, giving sufficient time for the mousse to set allows for beautiful layer differentiation. The contrasting colors, textures, and flavors create an appealing visual appeal that leaves a lasting impression on your guests. As each layer slowly solidifies, it retains its distinct characteristics, resulting in an indulgent treat that not only tastes incredible but looks stunning as well.
So while you may be eager to dig into your layered chocolate mousse masterpiece immediately after assembling it, exercise patience and resist temptation. Allow ample chilling time between layers so that each one can reach its full potential. The end result will be well worth the wait – a heavenly dessert with perfectly set layers that are both visually stunning and melt-in-your-mouth delicious.
Serving Suggestions: Creative ways to serve your mousse
When it comes to presenting your layered chocolate mousse, there are countless creative ways to elevate your dessert and impress your guests. One unique idea is to serve the mousse in individual shot glasses or mini dessert bowls, creating a more intimate and elegant presentation. You can also experiment with different toppings and garnishes, such as shaved chocolate, crushed nuts, or fresh berries, adding texture and visual appeal to each serving.
Another exciting suggestion is to incorporate contrasting flavors into your plating. For example, you can serve the chocolate mousse alongside a tart raspberry coulis or a zesty citrus sorbet. The combination of rich chocolate with fruity or tangy components will create a harmonious balance that delights the taste buds. Additionally, consider serving the mousse on top of a thin layer of crunchy cookie crumbs or a buttery shortbread crust for added depth and complexity.
If you’re feeling particularly adventurous, why not try serving the layered chocolate mousse as part of an interactive dessert experience? Consider providing an array of dippable treats like ladyfingers, pretzel sticks or fresh fruit slices so guests can dip them directly into their own personal pot of velvety mousse. This playful approach encourages interaction and creates a fun dining experience that everyone will remember.
Remember that presenting your layered chocolate mousse with creativity adds another layer of enjoyment for both yourself as the chef and for those fortunate enough to indulge in this delectable treat!
Conclusion: A decadent treat for all chocolate lovers
In conclusion, the layered chocolate mousse recipe is truly a decadent treat for all chocolate lovers. The combination of rich and velvety textures alongside the intense flavors of dark chocolate create a dessert that is simply irresistible. What makes this recipe even more enticing is the added element of layering, allowing each spoonful to provide a delightful surprise.
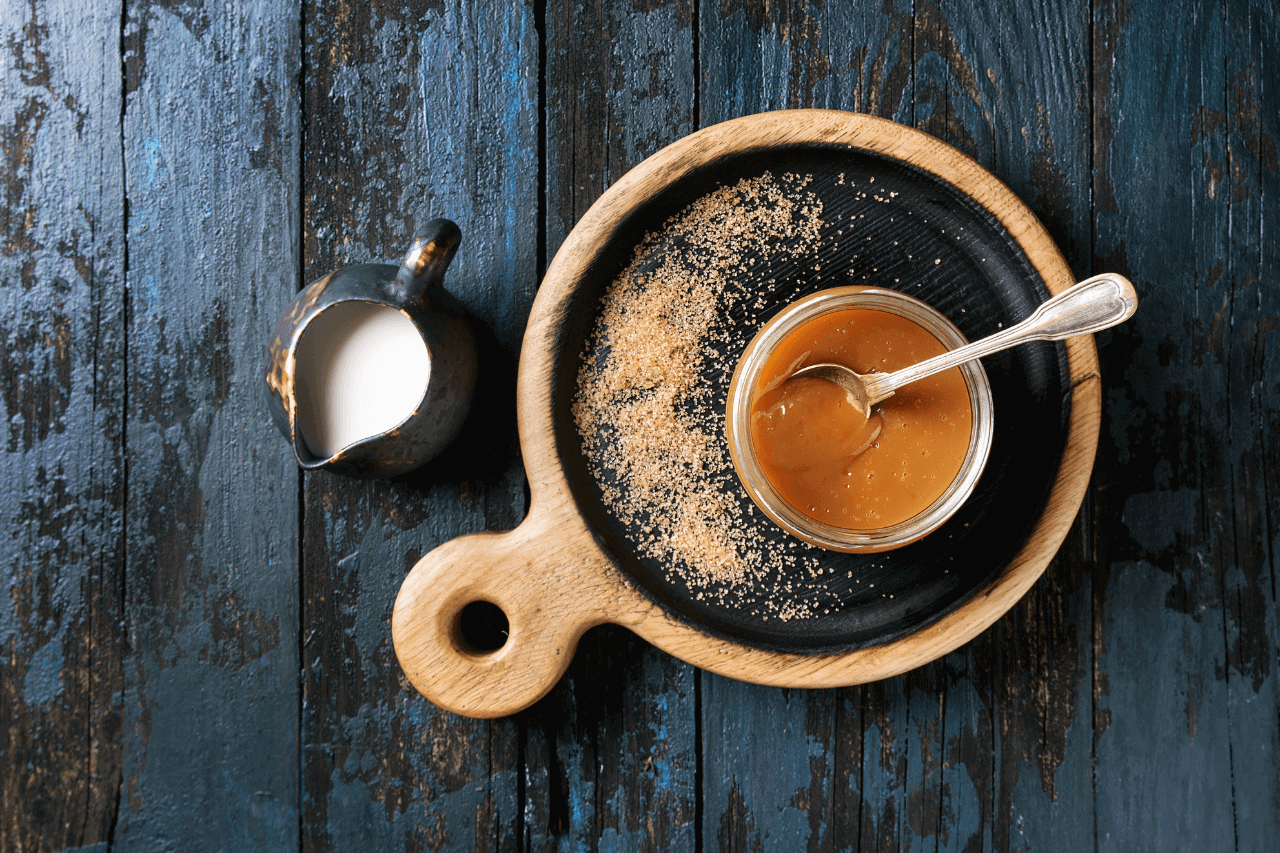
The beauty of this dessert lies not only in its taste but also in its versatility. With countless variations and toppings to experiment with, you can easily customize this recipe to suit your personal preferences. Whether you prefer sprinkling crushed pistachios on top or adding a drizzle of caramel sauce, the options are endless.
Indulging in a bite of layered chocolate mousse is like diving into pure bliss. The smoothness melts in your mouth, leaving behind an explosion of deep chocolate flavor that lingers on your palate. It’s not just a dessert; it’s an experience that takes you to new heights of culinary delight. So go ahead and treat yourself; after all, life is too short not to enjoy every tantalizing moment with such divine desserts like these!
FAQs
Q: What is a layered triple chocolate mousse?
A: A layered triple chocolate mousse is a decadent dessert made up of three layers of different chocolate mousses. It typically includes dark chocolate mousse, milk chocolate mousse, and white chocolate mousse, all stacked together to create a visually stunning and delicious treat.
Q: How do I make a layered triple chocolate mousse cake?
A: To make a layered triple chocolate mousse cake, you will need to prepare each chocolate mousse layer separately and then assemble them in a cake pan. Start by making the dark chocolate mousse, followed by the milk chocolate mousse, and finish with the white chocolate mousse. Allow each layer to set before adding the next one. Once all the layers are set, carefully stack them on top of each other in the cake pan. Chill the cake in the refrigerator for a few hours before serving.
Q: What is the best chocolate to use for a layered triple chocolate mousse?
A: The best chocolate to use for a layered triple chocolate mousse is high-quality dark chocolate, milk chocolate, and white chocolate. It’s important to use good quality chocolate to ensure a rich and smooth mousse texture and a deep chocolate flavor.
Q: Can I use chocolate chips instead of chocolate bars for the mousse?
A: Yes, you can use chocolate chips instead of chocolate bars for the mousse layers. However, keep in mind that chocolate chips may not melt as smoothly as chocolate bars due to their different composition. If using chocolate chips, make sure to melt them slowly and stir constantly to prevent them from seizing or becoming grainy.
Q: How do I prevent the mousse layers from mixing together?
A: To prevent the mousse layers from mixing together, it’s important to allow each layer to fully set before adding the next one. This will ensure that each mousse layer retains its distinct flavor and texture. Also, when stacking the layers, be gentle and use a spatula or spoon to place each layer on top of the other carefully.
Q: Can I make a layered triple chocolate mousse cake in advance?
A: Yes! A layered triple chocolate mousse cake is a great make-ahead dessert. You can prepare the cake a day in advance and store it in the refrigerator until ready to serve. Just make sure to cover it tightly with plastic wrap or a cake dome to prevent it from drying out.
Q: How long does a layered triple chocolate mousse cake last?
A: A layered triple chocolate mousse cake can last for up to 3-4 days when stored properly in the refrigerator. However, it is best enjoyed within the first 1-2 days for the freshest taste and texture.
Q: Can I freeze a layered triple chocolate mousse cake?
A: It is not recommended to freeze a layered triple chocolate mousse cake as freezing can affect the texture and consistency of the mousse layers. The moisture content in the mousse may cause it to become soggy when thawed. It is best to consume the cake within a few days of making it.
Q: Can I use gelatin to stabilize the mousse layers?
A: Yes, you can use gelatin to stabilize the mousse layers in a layered triple chocolate mousse cake. Gelatin helps the mousse set and hold its shape. Follow the instructions on the gelatin package for proper usage and make sure to dissolve it completely before adding it to the mousse mixture.
Q: Can I add different flavors to the mousse layers?
A: Absolutely! While a layered triple chocolate mousse is traditionally made with chocolate-based flavors, you can experiment with different variations. For example, you could add a hint of mint extract to the dark chocolate mousse layer or incorporate raspberry puree into the white chocolate mousse layer. Feel free to get creative and tailor the flavors to your liking.
Dietary Considerations:
- Gluten-Free: This recipe is naturally gluten-free. However, always check the labels of your ingredients to ensure they don’t contain any gluten.
- Dairy-Free: Replace the heavy cream with coconut cream. Use dairy-free versions of dark, milk, and white chocolates.

Layered Triple Chocolate Mousse Recipe
Ingredients
For the Dark Chocolate Layer:
- 100g dark chocolate (at least 70% cocoa)
- 1 large egg, separated
- 25g granulated sugar
- 100ml heavy cream
- A pinch of salt
For the Milk Chocolate Layer:
- 100g milk chocolate
- 1 large egg, separated
- 25g granulated sugar
- 100ml heavy cream
- A pinch of salt
For the White Chocolate Layer:
- 100g white chocolate
- 1 large egg, separated
- 25g granulated sugar
- 100ml heavy cream
- A pinch of salt
For Garnish (optional):
- Chocolate shavings (dark, milk, and white)
- Fresh berries
Instructions
Dark Chocolate Layer:
- Start by melting the dark chocolate in a heatproof bowl over simmering water.
- Once melted, remove from heat and let it cool slightly. In a separate bowl, whisk the egg yolk and half of the sugar until pale.
- Gradually fold the melted chocolate into the egg yolk mixture. In another bowl, whip the heavy cream until soft peaks form.
- In a clean bowl, beat the egg white with a pinch of salt and the remaining sugar until stiff peaks form.
- Gently fold the whipped cream and then the egg white into the chocolate mixture.
- Pour into serving glasses, filling only one-third. Refrigerate while preparing the next layer.
Milk Chocolate Layer:
- Repeat the same process as the dark chocolate layer, but using milk chocolate.
- Pour this mixture over the set dark chocolate layer in the glasses, filling another third.
- Refrigerate again.
White Chocolate Layer:
- Repeat the same process as the previous layers, but using white chocolate.
- Pour this mixture over the set milk chocolate layer in the glasses.
- Refrigerate for at least 4 hours, preferably overnight.
Serve:
Before serving, garnish with chocolate shavings and fresh berries if desired.


Notes
- Ensure all your utensils are clean and dry when beating the egg whites to achieve stiff peaks.
- For a more intense flavor, you can add a splash of vanilla extract to each chocolate layer.
- The mousse is best served chilled and can be stored in the refrigerator for up to 2 days.